As an Amazon Associate I earn from qualifying purchases. See Full Disclosure Here
Say goodbye to dry, chapped lips and hello to healthy, kissable lips with this luscious lavender lip balm recipe. Lip balm hydrates, protects, and soothes, keeping your lips soft and smooth all day long.
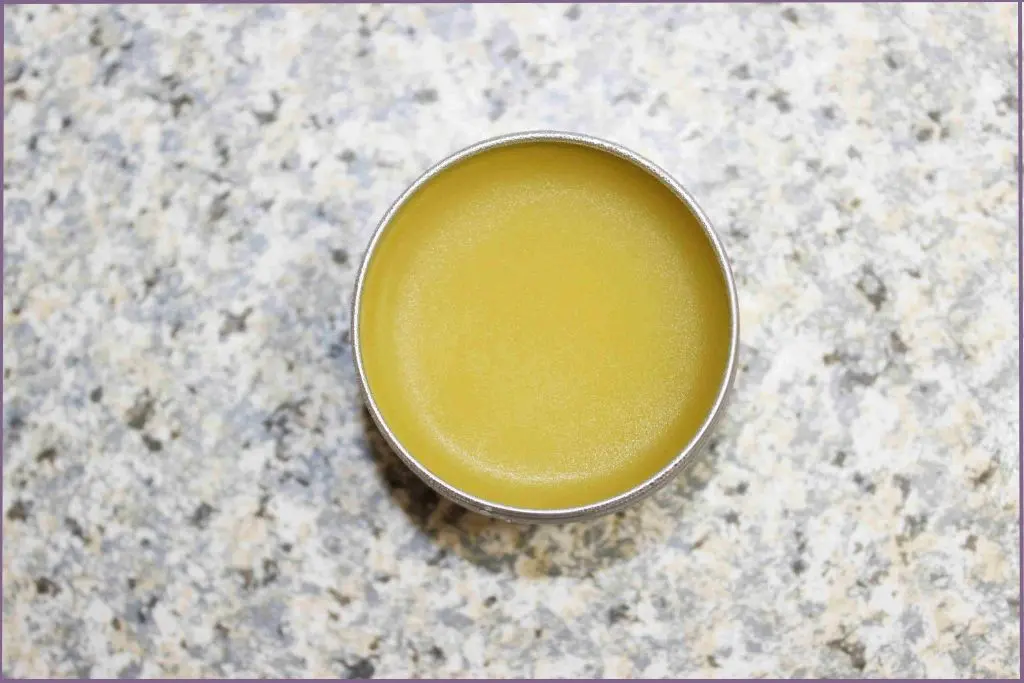
Among the many wonderful ingredients in this homemade lip balm, lavender stands out as a superstar. Beyond its calming, relaxing scent, lavender boasts properties that make it a perfect choice for lip care.
It’s known for its soothing and softening effects, relieving dry, irritated lips. Plus, lavender offers gentle hydration without a greasy feel, leaving your lips soft and supple.
This luscious lavender lip balm recipe with shea butter and beeswax is super simple to make and requires only 4 ingredients.
Better still, you can customize each batch with different scents. Use the same basic lip balm recipe for the whole batch, divide it into smaller batches, and add a different essential oil to each . That’s it – you now have multiple sets with different scents.
Benefits of Lip Balm With Shea Butter & Beeswax
Hydration: Lips lack oil glands, making them prone to dryness. Lip balm helps lock in moisture and prevent chapping.
Protection: Creates a barrier against environmental factors like wind, cold, and sun (if SPF is included).
Soothing: Provides relief for irritation and cracking.
Overall Lip Health: Regular use promotes healthy, smooth lips.
Benefits of Lavender Essential Oil In This Lip Balm Recipe
Lavender isn’t just a pretty flower with a calming scent; it brings a wealth of benefits to your lips! Here’s why lavender lip balm deserves a spot in your beauty routine:
Soothing Solution for Dry, Cracked Lips: Dryness and irritation are no match for lavender’s soothing properties. It helps calm inflammation and reduce discomfort, leaving your lips feeling soft and relieved.
Gentle Hydration, No Greasy Mess: Unlike some heavy moisturizers, lavender offers gentle hydration without that greasy feeling. It absorbs easily, leaving your lips feeling supple and smooth.
Potential Antibacterial and Antifungal Powerhouse: Studies suggest that lavender essential oil may possess antibacterial and antifungal properties. This could be beneficial for preventing minor infections caused by cracked or irritated lips. (Note: This information should be linked to a credible scientific study)
Aromatherapy on the Go: The delightful aroma of lavender isn’t just a bonus; it offers aromatherapy benefits! Inhaling lavender is known to promote relaxation and reduce stress, making every application a mini spa moment.
Homemade Lip Balm Recipe Ingredients
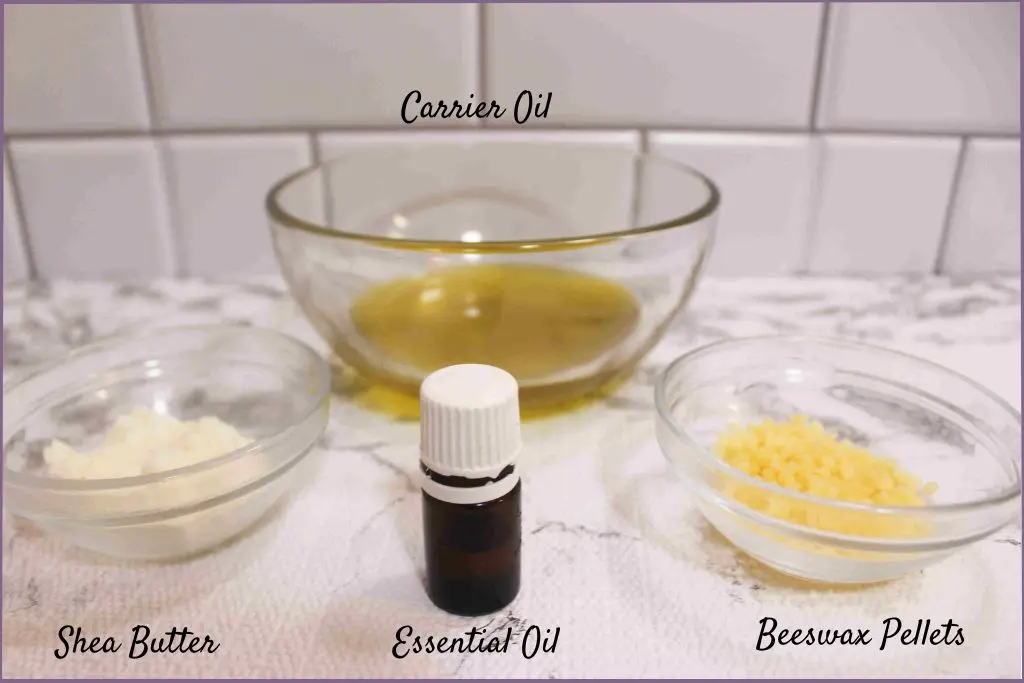
This lip balm recipe makes four 1-oz ins of lavender lip balm.
- ½ cup carrier oil (see options below)
- 2 tablespoons Beeswax Pellets
- 1 tablespoon Shea Butter
- 8 drops of Lavender Essential Oil
- Microwave safe bowl
- Spatula
- 4 1 oz tins These small tins are excellent for portability and easy application on the go!
Note: To convert this into a vegan lip balm recipe, use Candelilla Wax instead of beeswax.
Directions to Make Homemade Lip Balm
Step 1- Melt the Beeswax Pellets and Carrier Oil
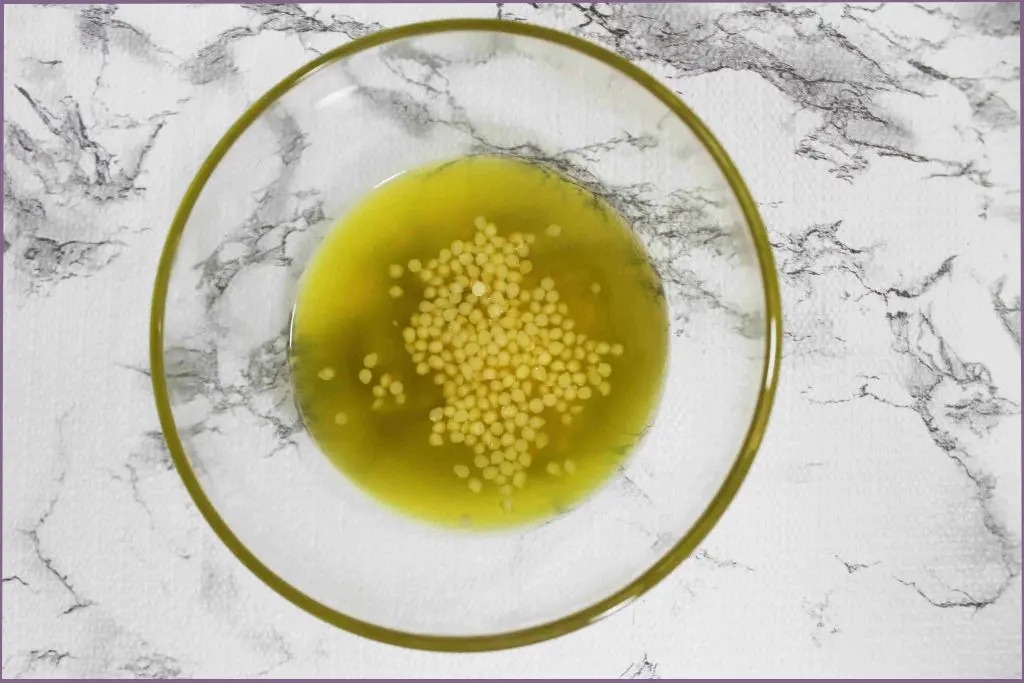
Put the beeswax and infused oil in a microwave-safe container. Microwave on high in 30-second intervals.
Stir the ingredients in the bowl gently after every 30 seconds.
Do this until all the beeswax pellets have melted completely. It will take about 3-5 minutes. Be careful not to overheat. The beeswax takes the longest time to melt.
You can melt the ingredients on a stove using a double boiler. Do not melt over direct heat as the mixture could end up in a lumpy mess if you are not careful.
Remove from the heat.
Step 2- Add the Shea Butter
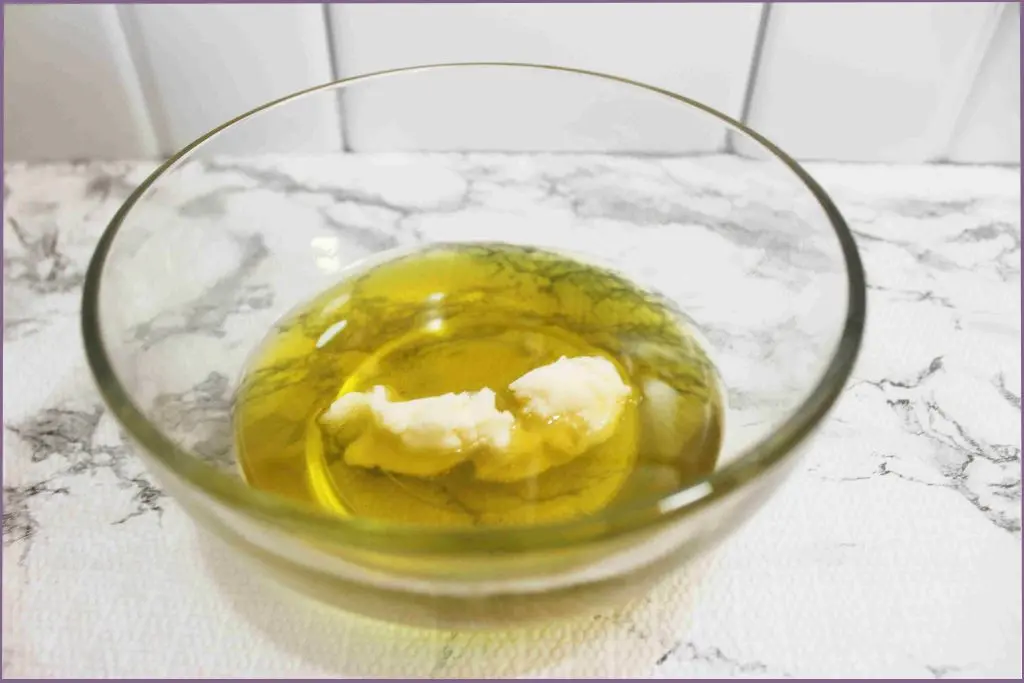
Once the pellets have melted, add the shea butter and repeat Step 1 until the shea butter has fully melted too.
Step 3 – Add Your Selected Essential Oils
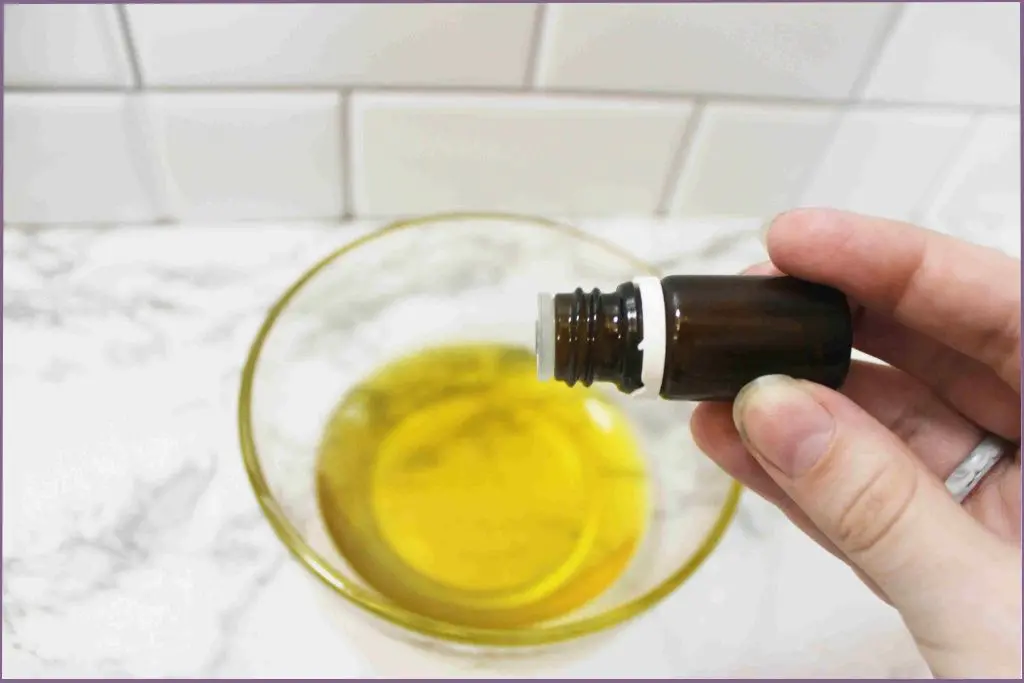
Let the lip balm cool a bit before adding 8 drops of lavender essential oil.
Never add essential oils when the base is too hot. High temperatures destroy the scent and the properties of essential oils.
Step 4 – Fill Your Lip Balm Containers
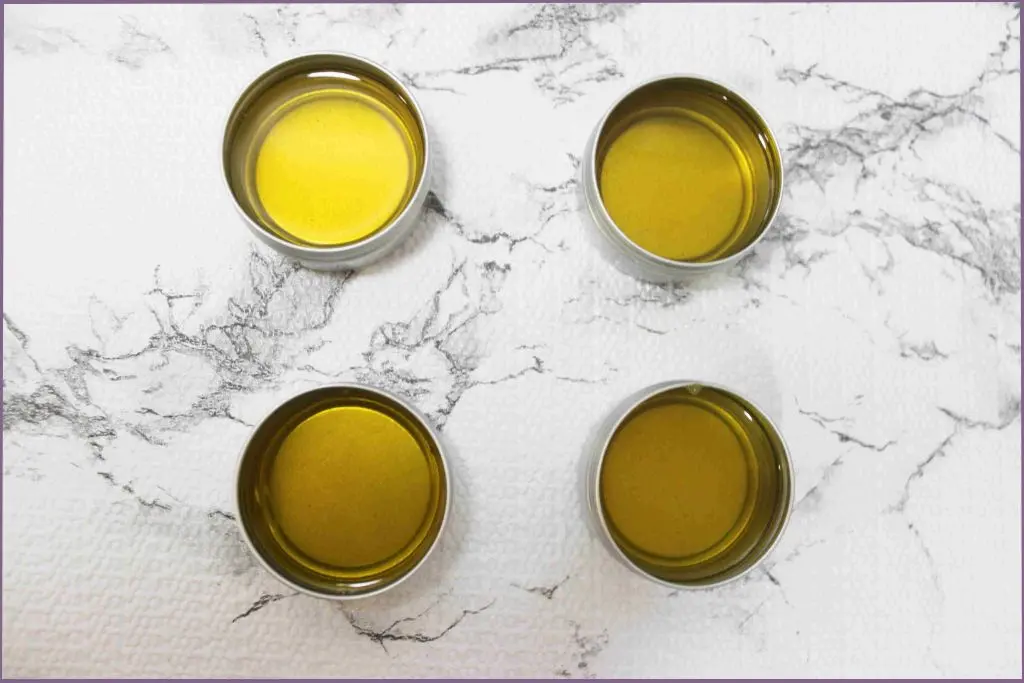
Let the final product set for about 10 minutes. As the lip balm cools and comes to room temperature, it will turn viscous. Pour the warm, scented viscous mixture into the lip balm containers.
Don’t let the mixture cool for too long or it will solidify and you won’t be able to pour it into the containers. If this happens, reheat the lip balm in your double boiler or the microwave on very low heat.
If you want to make a variety of lip balm flavors, divide the melted product into smaller containers and add a different essential oil to each.
Step 4 – Final Steps
Let your homemade lip balm sit in the containers without the lids on for 4-5 hours or until they cool down fully.
Close the containers only after the lip balm has completely cooled down.
Keep it in a dark place without much humidity and it can last up to a year.
A Closer Look At The Ingredients & Benefits Of Each
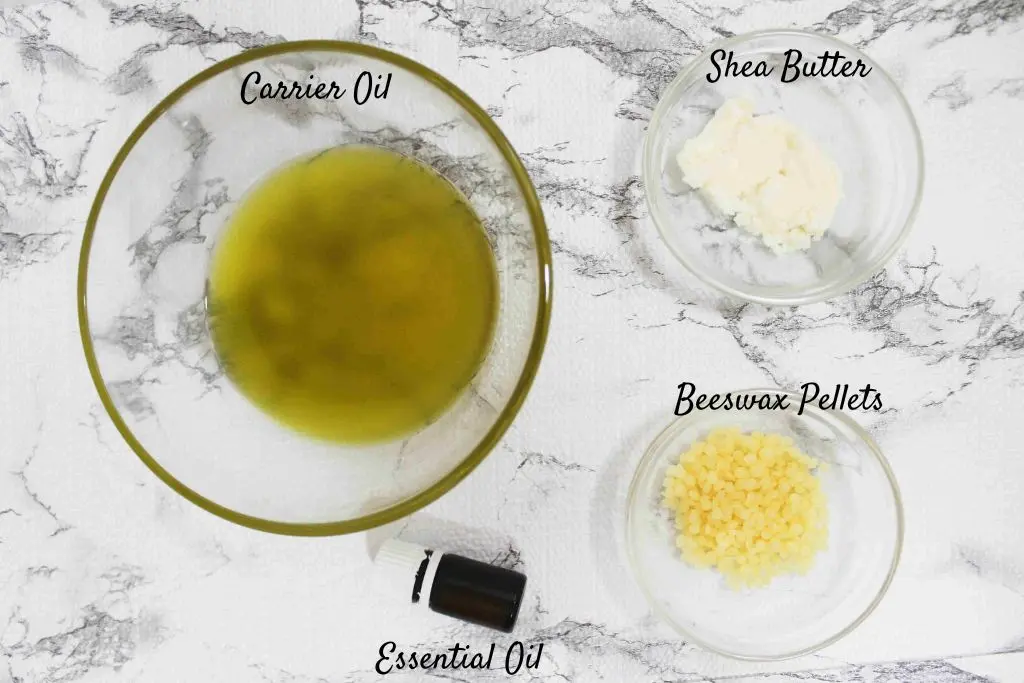
Here’s a breakdown of each ingredient in your lavender lip balm recipe, highlighting their specific benefits:
Beeswax
This natural wonder acts as the base of your lip balm, providing structure and holding everything together. It also creates a protective barrier that locks in moisture and shields lips from harsh environmental factors like wind and cold.
Beeswax pellets work better than a block of beeswax for this homemade lip balm recipe as they melt more evenly.
Shea Butter
This luxurious butter is a powerhouse for dry lips.
Rich in fatty acids and vitamins, Shea Butter deeply moisturizes, soothes irritation, and promotes healing. It also adds a touch of natural shine to your lips.
Lavender-Infused Oil
This is a brilliant addition to the basic recipe! You can add any unscented carrier oil, but lavender-infused oil takes the basic recipe to the next level.
Carrier oil infused with lavender incorporates the soothing and moisturizing benefits of lavender directly into the base. It also intensifies the lavender’s calming and anti-inflammatory properties for your lips.
The infused lavender oil can be made with any type of carrier oil. This recipe used extra virgin olive oil, which is why the final product has a darker color. You can use coconut oil, avocado oil, jojoba oil, etc.
Lavender Essential Oil
The star of the show! Lavender essential oil brings a delightful aroma and a wealth of benefits. It soothes irritation and dryness, and its potential antibacterial and antifungal properties may help prevent minor infections.
Remember, use this oil sparingly as it’s highly concentrated.
Variations To Customize The Basic Lip Balm Recipe
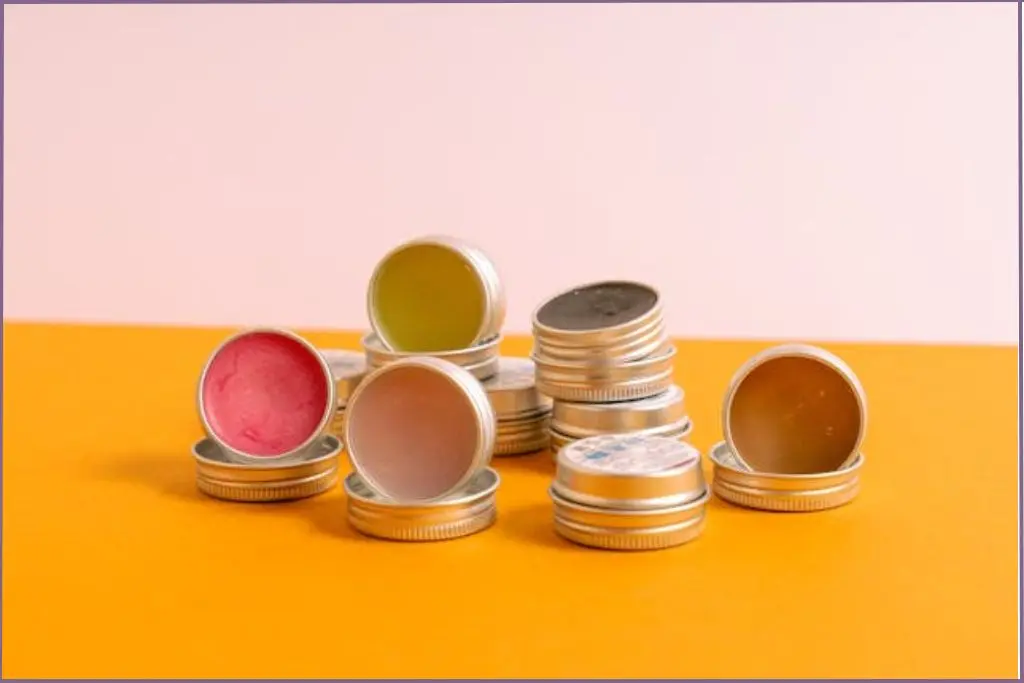
This DIY lavender lip balm recipe is a great starting point, but the beauty of homemade products lies in customization!
Here are some fun ways to personalize your lip balm based on your preferences and needs:
Boost the Moisture: For extra dry lips, add 1/4 teaspoon honey to the basic recipe. Honey is a natural humectant, meaning it attracts and retains moisture, leaving your lips feeling even more hydrated.
Cocoa Butter: A rich, natural butter derived from cocoa beans, this is a great alternative for those who find shea butter a little too heavy. Cocoa butter offers excellent hydration with a lighter feel on the lips compared to shea butter. It has a delightful chocolatey scent too. Swap the lavender oil for peppermint to give the final product a scrumptious chocolate-peppermint flavor.
Vitamin E Oil
This antioxidant superstar protects the other ingredients in your balm from spoiling. But its benefits extend beyond preservation! Vitamin E also helps nourish and soften lips, promoting cell regeneration for healthy skin.
Carrier Oil Options: While lavender-infused oil adds a lovely touch, you can experiment with different carrier oils based on your needs:
- Sweet Almond Oil: This lightweight oil is readily absorbed into the skin and leaves a silky smooth feeling without excessive greasiness.
- Coconut Oil: A solid oil at room temperature, coconut oil offers intense hydration and a subtle coconut scent (great if you love the tropics!).
- Avocado Oil: Rich in vitamins and antioxidants, avocado oil provides deep nourishment and helps promote healthy lips.
Flavor Twists: Want a hint of flavor alongside the calming lavender? Here are some options (use sparingly, a drop or two at most):
- Vanilla Extract: Vanilla Botanical Extract is a big favorite in lip balms for its rich, decadent scent. A touch of vanilla adds a subtle sweetness to this lip balm recipe with shea butter and beeswax.
- Peppermint Essential Oil: For a refreshing tingle, try a tiny drop of peppermint oil (remember, it’s very potent!). Peppermint-scented lip balms have a minty-fresh scent that feels uplifting and energizing.
- Combine Vanilla & Peppermint to make a Vanilla Mint Lip Balm
- Pink Grapefruit Essential Oil is another fantastic choice to use in any homemade beeswax lip balm recipe. It has a light scent that is bright and refreshing without that bitter flavor you’d usually expect from grapefruit.
- A blend of Orange and Rosemary essential oils is another fantastic option for flavoring your lip balm if you like the tangy, herby scent.
If this is your first time, start by adding half the amount of essential oils and slowly keep adding one drop at a time until you’re happy with the strength of the aroma.
It’s better to take the time to get the scent to the right strength. If you add too much at the outset, you cannot then remove it.
Some essential oils have a stronger aroma than others so you will need to adjust the quantities depending on your choice of oil.
Important Note: When experimenting with new ingredients, always do a patch test on a small area of your arm before applying it to your lips. This helps ensure you don’t have any allergic reactions.
Lip Balm vs. Chapstick: Are They The Same?
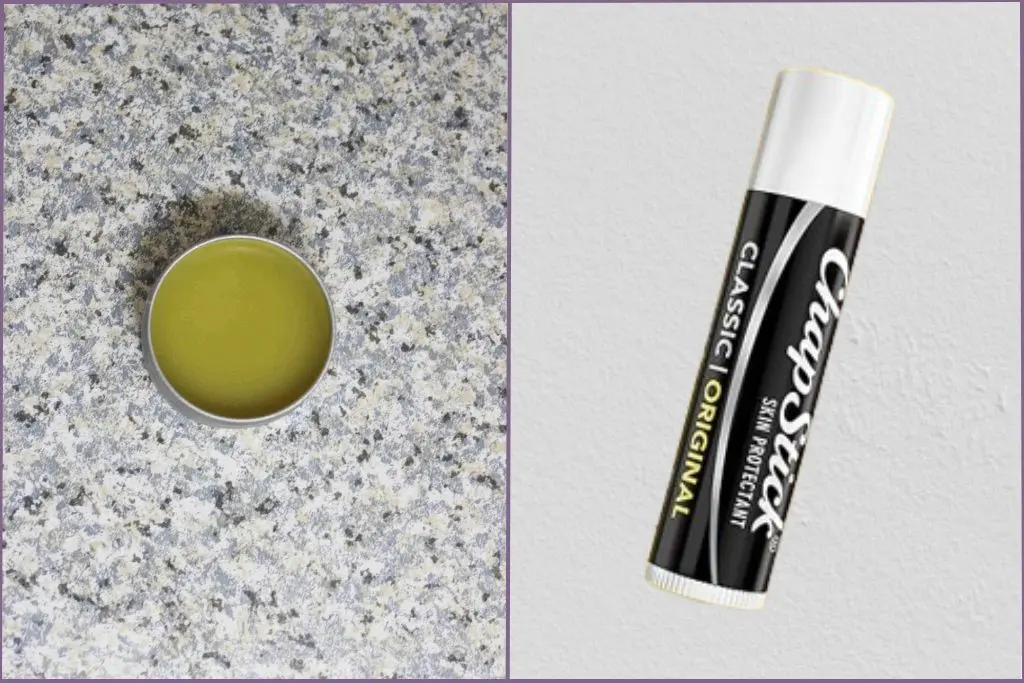
The terms “lip balm” and “chapstick” are often used interchangeably, but there’s a subtle difference between them. Here’s a quick breakdown:
Lip Balm is a general term encompassing a wide range of products designed to moisturize, protect, and soothe the lips. Lip balms come in various textures (waxy sticks, balms, ointments) and offer a variety of benefits depending on the ingredients. Some lip balms may only moisturize, while others may contain additional ingredients like SPF protection, antioxidants, or even a hint of color.
Chapstick is a brand name for a specific type of lip balm, created in the late 1800s. It’s become so widely recognized that “chapstick” is often used generically to refer to any lip balm product.
Think of “lip balm” as the category and “chapstick” as a specific brand within that category, similar to how “facial tissue” is a general term and “Kleenex” is a brand name.
So, when you’re looking for a product to keep your lips healthy and moisturized, you’re essentially looking for a lip balm, regardless of whether the specific product is called a lip balm or a chapstick.
Tips for Using Your Homemade Lavender Lip Balm
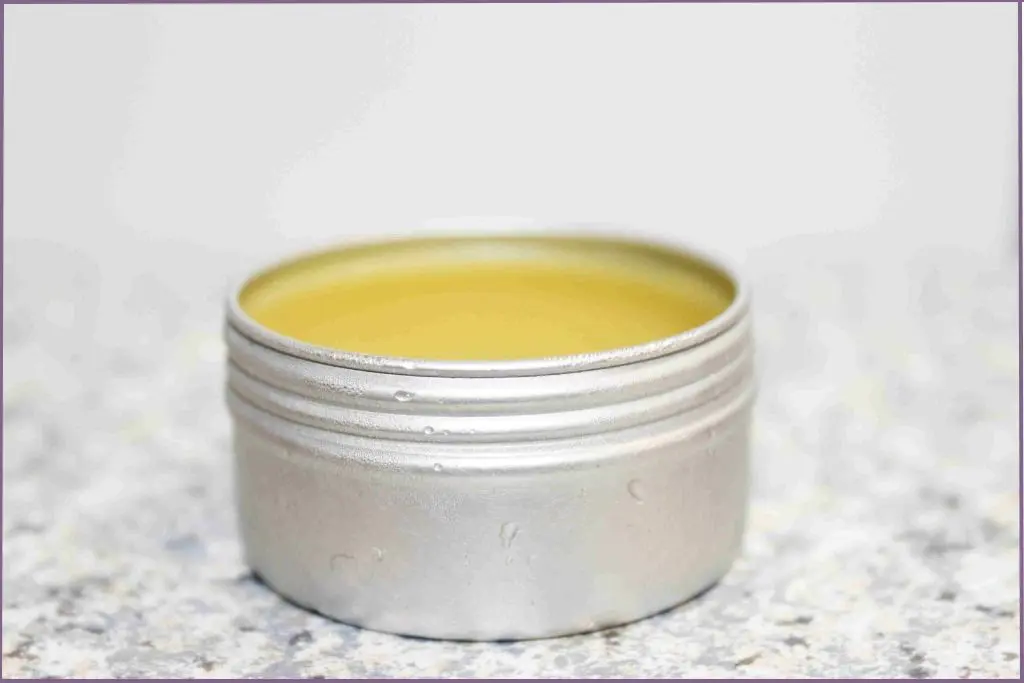
Now that you’ve whipped up your amazing lavender lip balm, here are some tips to get the most out of it:
Frequency for Fabulous Lips: There’s no one-size-fits-all answer, but generally, applying your lip balm throughout the day is recommended for optimal results. Here are some key times:
Mornings and Evenings: Make lip balm part of your daily routine, applying it after brushing your teeth and before bed.
Throughout the Day: Reapply as needed, especially after meals, drinks (which can dry lips), or if you feel dryness coming on.
Dry Weather Warrior: During dry, windy, or cold weather, you might need to apply more frequently to keep your lips protected and hydrated.
As Gifts: Homemade lip balms with essential oils make wonderful gifts for any occasion. Place it in an aromatherapy gift hamper, use it as a stocking stuffer, or gift it as a standalone thank you or hostess gift.
How To Store Homemade Shea Butter – Beeswax Lip Balm
To ensure your lip balm stays fresh and effective, follow these storage tips:
Keep your lip balm in a cool, dry place away from direct sunlight or heat sources. This will prevent the ingredients from melting or separating.
A tight-fitting container will prevent air exposure and prevent your lip balm from drying out or losing its scent.
Patch Test for Peace of Mind: It’s always a good idea to do a patch test before slathering the balm all over your lips, especially if you have sensitive skin, Here’s how: Apply a small amount of lip balm to the inner forearm. Wait 24 hours to see if any irritation or reaction occurs. If your skin feels fine, you’re good to go and enjoy your lavender lip balm!
Making your own lip balm offers a wealth of benefits:
Customization: You control the ingredients, tailoring the recipe to your specific needs and preferences.
Natural Ingredients: You can choose high-quality, natural ingredients that are gentle on your lips and free from harsh chemicals.
Cost-Effective: DIY lip balm is a budget-friendly way to achieve soft, healthy lips.
The Joy of DIY! There’s a certain satisfaction in creating your own beauty products.
Now that you’re armed with the knowledge and the recipe, why not give it a try? Whip up a batch of this calming lavender lip balm with shea butter and experience the soothing and moisturizing effects for yourself. Your lips will thank you!
Related Reads:
If you enjoy working on DIY essential oil recipes, whether for yourself or to give away as gifts, you’ll enjoy these easy aromatic projects:
Luxurious Sea Moss Body Scrub Recipe For Soft Radiant Skin
DIY Rose Petal Bath Bombs With Essential Oil
Refreshing Peppermint-Aloe Vera Lip Scrub Recipe
Disclaimer: This information is not intended to serve as medical advice. Please consult your doctor before using any natural medication or if you experience any unusual symptoms. See Full Disclaimer here.




Leave a Reply