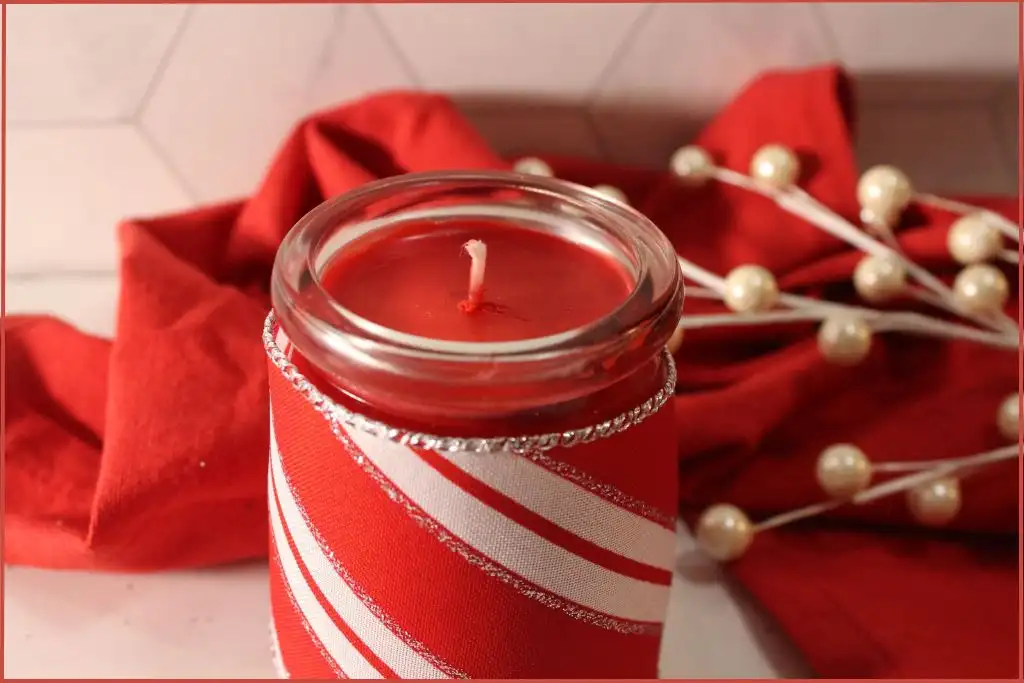
There’s something magical about the soft flicker of candlelight during the holiday season – it instantly adds warmth and charm to any space. Pair it with the cozy, minty scent of candy canes, and you have the perfect touch of Christmas hygge.
This DIY Candy Cane Candle is a simple yet stunning handcrafting project that will fill your home with the sweet scent of peppermint and vanilla, while adding a cheerful pop of holiday color and a soft, welcoming glow.
✨ Get 12 Free Holiday Diffuser Blends — Printable PDF
Instantly make your home smell like Christmas with these festive, ready-to-use recipes.
The combination of carefully chosen visual details and matching scent makes this candle a gorgeous addition to any room at Christmas. The red-and-white hues capture the charm of classic candy canes, while the refreshing peppermint and creamy vanilla aroma wrap your space in cozy holiday warmth.
Beginner-friendly and made with natural ingredients – soy wax, essential oils, and a hint of red candle dye – this candle is as easy to create as it is beautiful to display. Whether you’re making it for yourself or gifting it to loved ones, it’s a lovely way to capture the joyful spirit of Christmas in a jar.
Table of Contents
Affiliate Disclosure: Some links on this site are affiliate links. I may earn a small commission if you purchase through them, at no extra cost to you. See the full affiliate disclosure.
Why Make Your Own Candy Cane Candles?
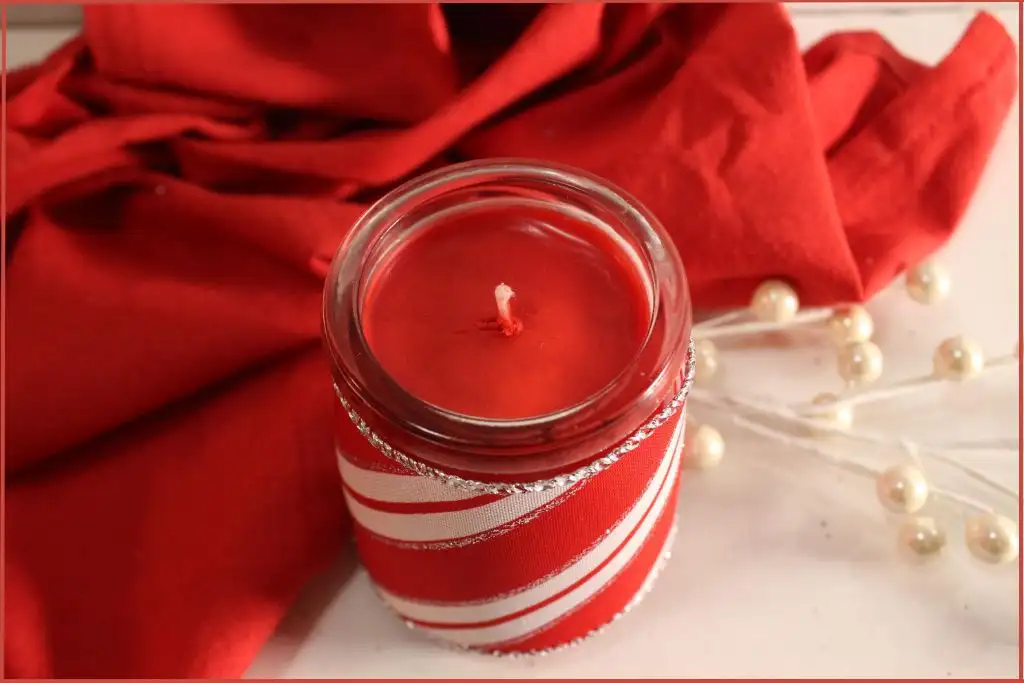
There’s so much to love about making your own candy cane candle. It’s festive, fragrant, and wonderfully simple – the perfect DIY project to get into the holiday spirit.
The red color and candy-cane-inspired scent instantly bring Christmas cheer. The recipe is easily customizable. Adjust the color intensity or change the color and scent completely to achieve your desired vibe.
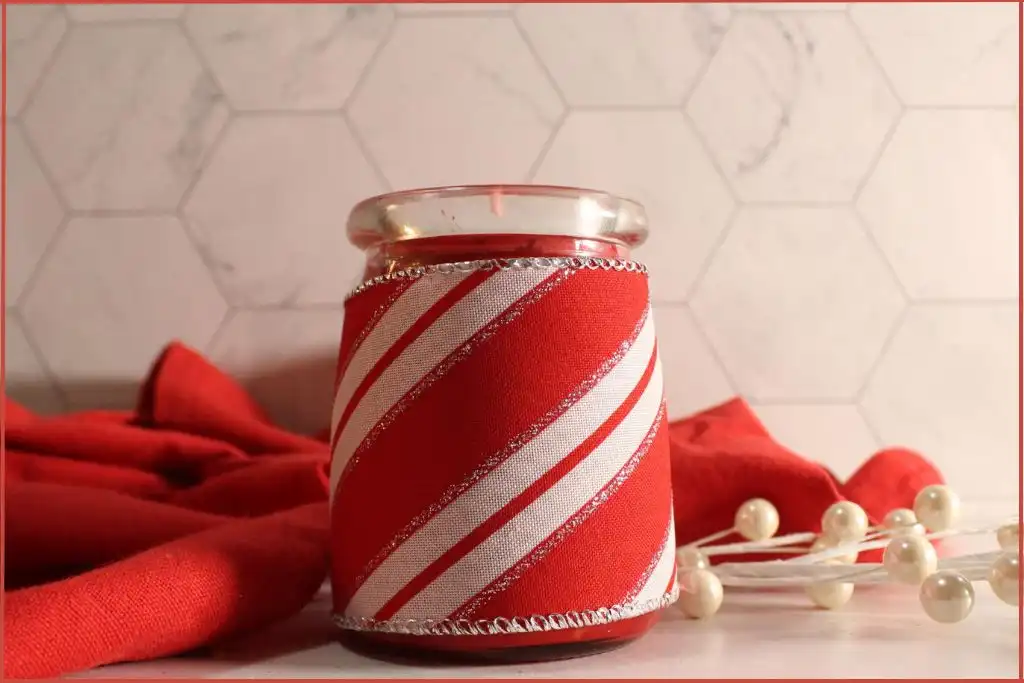
Adorn your candy cane candle with ribbon and festive wrapping, and you have a charming handmade Christmas gift for everyone on your list.
Making a soy candle in a jar with essential oils is beginner-friendly and requires only a few ingredients. The resultant candle is environmentally friendly and nontoxic – safe for you and the environment.
This little candle captures everything you love about the holidays – sweet, minty freshness, cozy glow, and a personal, handmade touch.
Ingredients To Make A Candy Cane Candle
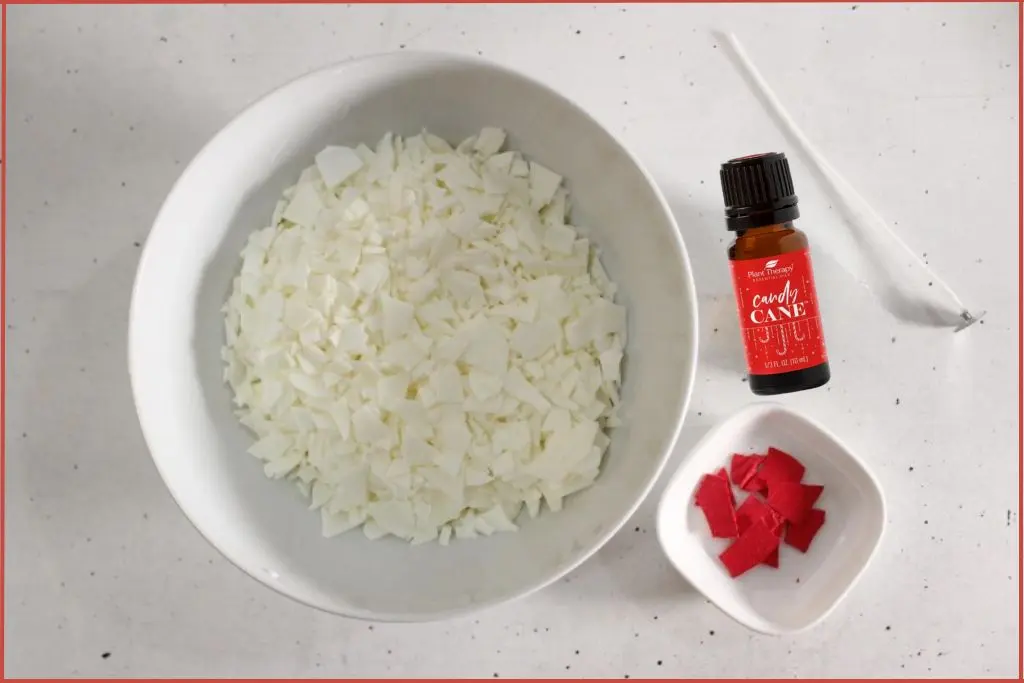
- 1 ½ cups Soy Wax Flakes
- 30–40 drops Candy Cane Essential Oil Blend
- 1 tablespoon Red Candle Dye
- 1 Candle Wick and Wick Centering Device
- 1 7-oz Heat-Safe Jar
Optional extras: ribbon, glitter, peppermint sticks, or holiday labels for decoration
Step 1: Secure The Wick In The Jar

This is a 2-step preparatory process that ensures your candle burns correctly.
Attach the wick to the center of the jar base using a glue dot or a small dab of melted wax. Press firmly so the wick tab is fully adhered and flat against the jar bottom.
A securely anchored, centered wick prevents it from drifting when you pour the wax, so the candle burns evenly and forms a proper melt pool. A wick that is off-center causes tunneling, weak scent throw, and uneven glass heating.
The next step helps to keep the wick upright. Wrap the top of the wick once around a pencil, chopstick, or a wick-centering tool laid across the jar mouth. Make sure the wick is vertical and taut before pouring.
Step 2: Melt the Wax & Add Red Dye
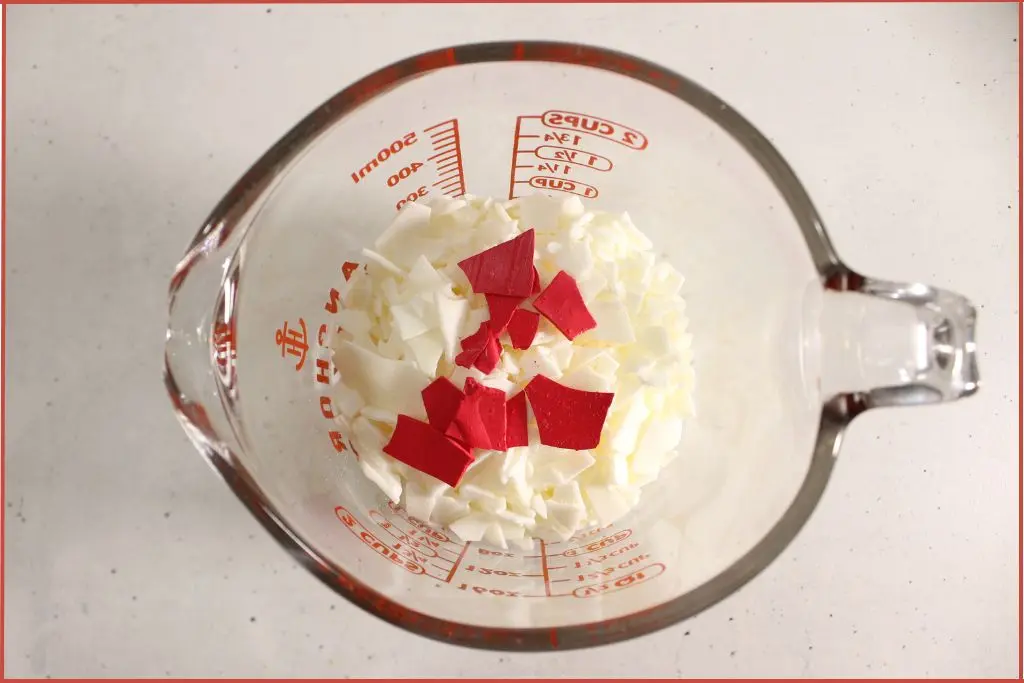
Add 1 1/2 cups soy wax flakes and 1/2 tablespoon red candle dye in a heat-safe jar. Place the jar in a double boiler to ensure gentle, even heating. Controlled, indirect heat, using a double boiler, prevents scorching and preserves fragrance and wax quality. Never melt wax on direct heat.
For cande-making, I use this convenient double boiler with a built-in thermometer and spout for easy, mess-free pouring.
Alternatively, to set up a simple double boiler, fill a pot with a few inches of water, then set a metal bowl or pouring pitcher on top. Add soy wax flakes and red candle dye to the top vessel. Keep the water at a light simmer, not a rolling boil.
Stir gently as the wax melts and the color blends evenly. When adding the red candle dye, start small, stir, and gradually add more until you achieve the desired color.
For a soft candy cane vibe, use less dye for a gentle blush.
For a bold holiday red, add dye drop by drop until you achieve your target shade of red. Keep stirring gently and continuously so the color blends evenly.
Tips for this step: To test color intensity, dip the handle of a metal spoon into the melted wax and let it cool. The cooled sample shows the true color. Remember, it’s easier to add more dye, so start with a small amount and add more dye gradually.
Precautions for this step: Never allow water to get into the wax (it will spatter). Use a thermometer and avoid overheating. Do not leave wax unattended on high heat. Keep children and pets away from the workspace.
Step 3: Cool to 125–130°F & Add Candy Cane Essential Oil Blend

Remove the melted wax from the heat and let it cool to about 125 – 130°F. Add 30 drops of candy cane blend to the melted and slightly cooled wax.
Note: Adding the essential oil blend at the recommended temperature helps it bind into the wax better for a stronger, longer-lasting scent. Adding oils when the wax is too hot causes the scent to evaporate immediately.
Stir slowly and thoroughly for about 30 seconds so the scent fully disperses into the melted wax.
If you find the scent too mild, add another 10 drops for a stronger throw. Do not use more than 40 drops of essential oil for a 7-oz candle, as that will be much too strong.
Step 4: Pour the Wax & Secure the Wick
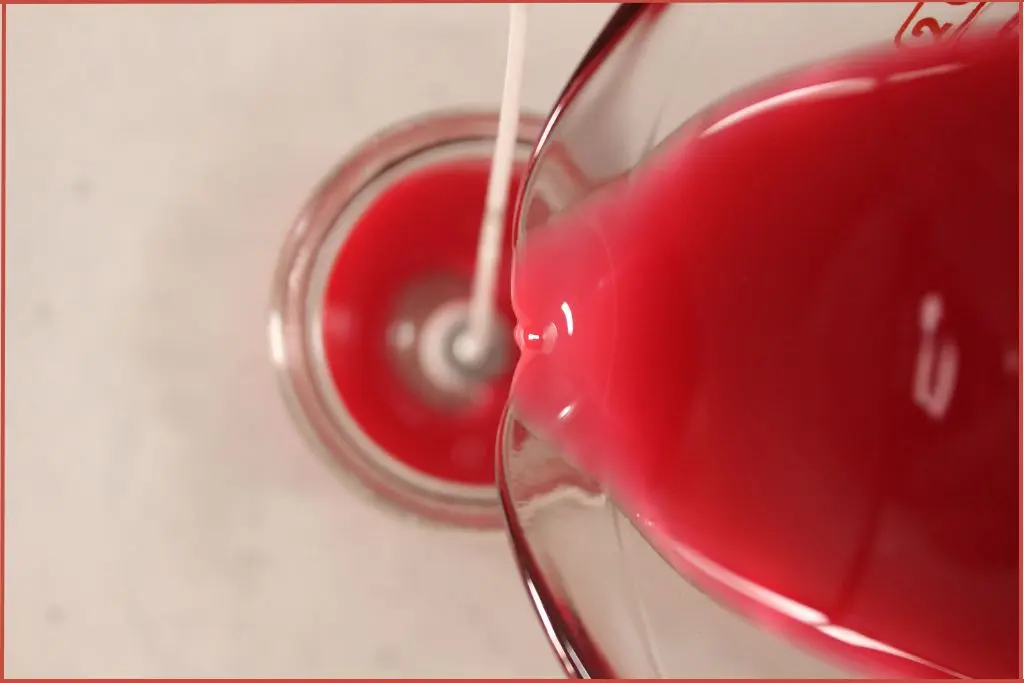
Pour the scented wax slowly into your prepared jar, centering the pour to keep the wick straight. Leave a small headspace of about ¼ – ½ inch at the top for a clean look.
A slow, centered pour reduces trapped air and bubbling and helps produce an even top. Pouring too quickly can cause air bubbles within the candle.
Immediately after pouring, re-check the wick position and use your pencil or centering tool to ensure it’s perfectly centered while the wax cools. Securing the wick prevents it from leaning, which causes uneven burning or tunneling.
Tips for this step: If you notice small sinkholes or an uneven top after the wax sets, warm a few tablespoons of wax and do a small “top pour” to smooth the surface. If you’re using a wooden wick, make sure the top is perfectly centered and not covered by any pooled wax that could smother the flame later.
Precautions for this step: The jar and wax will be hot. Use heat-resistant gloves or a towel when handling.
Step 5: Let Harden, Cure & Trim the Wick
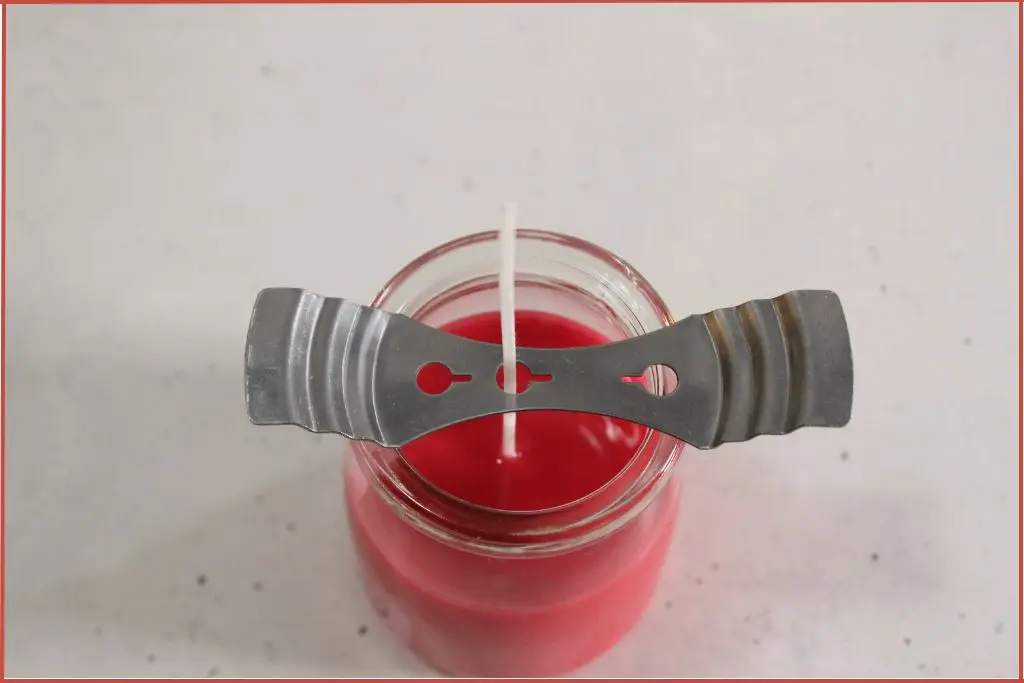
Leave the candle to cool undisturbed in a draft-free spot for at least 6 hours or overnight for the wax to harden. Do not move the jar during this time, as this can cause sinkholes or ripples on the surface.
For the best fragrance performance, let your candle cure for another 24 – 48 hours before the first long burn. Curing improves the scent throw as the oil fully binds with the wax.
Allowing the candle to cool slowly reduces top cracking and improves the finish.
Once fully set and cool, trim the wick to ¼ inch using scissors or wick trimmers.
Keep finished candles in a cool, dry place away from sunlight to preserve scent and color.
How To Make A Red and White Layered Candy Cane Candle
This is another version of the basic candy cane candle. This version includes festive red-and-white layers that mimic the look of a real candy cane.
It’s easy to make but a little more time-consuming. The key to creating a perfect red and white striped candy cane candle lies in the timing of pouring the wax layers.
Here’s what you need to do:
Step 1: Prepare two batches of wax
Melt half your soy wax with red candle dye for your red layer.
Melt the second half without any dye for the white layer.
Add candy cane essential oil blend to the two batches using the same procedure as outlined in version 1.
Step 2: Pour the first layer
Pour the red wax into your jar first and let it set for about 30 – 45 minutes, or longer if necessary, until a light skin forms on top, but the wax is still slightly warm.
Step 3: Pour the second layer
Gently pour the white wax over the first layer, using a slow, steady hand to avoid breaking the surface.
Repeat the process, alternating between red and white colors. The result is a red-and-white striped candy cane candle.
3 Tips for Best Results When Creating A Layered Candy Cane Candle
- Keep both batches at similar temperatures (125–130°F) when pouring to help them bond without blending colors.
- Use a thermometer and be patient. Don’t pour the layers on top of each other too soon, or the colors will bleed into each other, and you won’t get clean, crisp layers.
- For a marbled look, swirl a chopstick lightly between layers before they fully set.
Layered candles look especially pretty in clear jars, letting the candy-cane pattern show through – perfect for display or gifting!
Troubleshooting Common Problems When Candle-Making
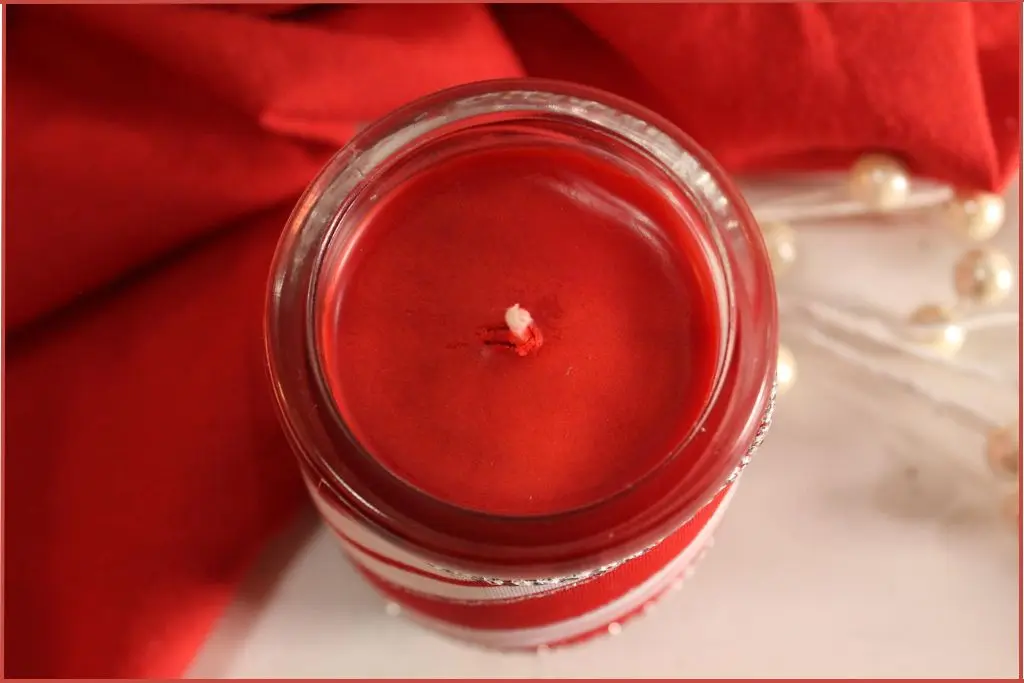
The candle has a rough, uneven top
This often happens when wax is poured too cool. You can smooth the top with a heat gun if desired, though many people love the rustic, artisanal look of an imperfect top.
Another option is to melt any remaining wax and, while it’s hot, pour a little over the candle to achieve a smooth finish.
For future candles, maintain the 125-130°F pour temperature.
The color isn’t bright enough
Add more dye next time, keeping in mind that colors lighten as wax cools. Test small batches to find your ideal shade. You can always reheat the wax to create your final candle.
The candle barely has any candy cane scent
This could be due to any one of three reasons: you may have added the candy cane blend when the wax was too hot, used too few drops, or are experiencing “nose blindness” from being around the scent during creation.
Let the candle cure fully and ask someone else to test the scent throw. If it’s still too faint, add more drops of the essential oil blend in your next candle.
The wick won’t stay lit
The wick may be too small for your jar size, there could be too much fragrance oil (over 10% by weight), or drafts may be affecting the flame. Ensure proper wick sizing for your next batch.
The candle is burning unevenly
This typically indicates an incorrect wick size or not burning long enough during the first use. The first burn should always achieve a full melt pool to set the candle’s “memory.”
Candy Cane Candle In A Jar Presentation Ideas That Feel Luxe
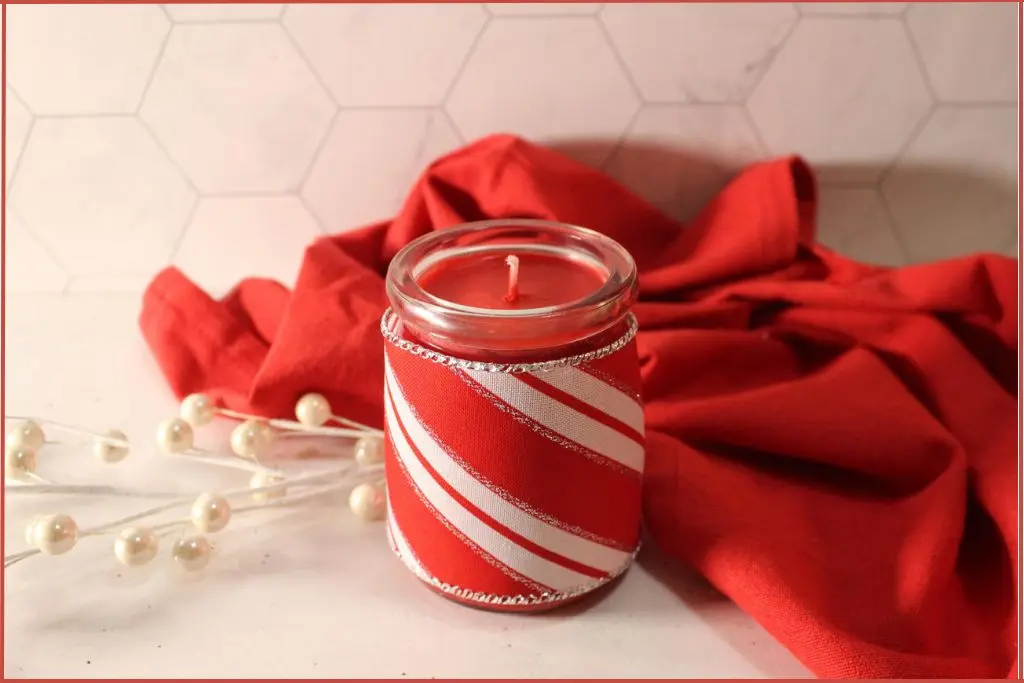
Once your candle has cured, it’s time for the fun part – decorating and gifting!
A few small details elevate your candle from homemade to gift-shop worthy.
Add a festive touch: Wrap a red-and-white striped ribbon or baker’s twine around the jar lid or base. Tuck a small pine sprig into the twine or ribbon for a cozy touch.
Top it off with a Christmas accessory: Glue on a small candy cane, peppermint, or dried holly sprig for a charming finish.
Pack it in a kraft box with tissue: Line a kraft box with white tissue, tuck in the candle, then seal with a round sticker.
Personalize the label: Create simple tags that read “Candy Cane Candle” or “Handmade with Love.” Add the scent name, pour date, and your name.
Create a gift bag trio: Place one candle, a cocoa packet, and a peppermint stick in a small bag.
2 Aromatherapy Gift Basket Ideas
Candy Cane Spa Basket
Create a coordinated Candy Cane Spa Basket filled with your favorite peppermint-vanilla DIY treats.
Start with this delightful homemade candy cane sugar scrub for smooth, glowing skin, and add a few hand-crafted bath bombs and red & white striped soap bars in the same scent for a festive soak.
Add this matching hand-crafted lip scrub and lip balm for a sweet finishing touch.
Line the basket with red-and-white tissue and finish with a striped ribbon for a cheerful holiday look.
Assorted Holiday Candle & Bath Basket
Mix and match your candy cane candle with other scented creations like this gorgeous snowflake candle, a couple of Christmas tree bath bombs, a Christmas roll-on perfume, and a jar of Gingerbread whipped body butter.
This makes a lovely “Holiday Scents” gift basket with a variety of aromas for every mood.
Both basket ideas work beautifully for holiday gifting, craft fairs, or cozy home décor , a perfect blend of scent, color, and Christmas cheer.
Precautions When Making And Lighting Scented Candles
Handle essential oils carefully – avoid skin contact and inhaling directly from the bottle. Some oils (and strong scents) may be irritating to sensitive people or pets; if you have pets, check oil safety for animals before using.
Always burn candles on a stable, heat-resistant surface, away from drafts, children, and pets.
Never leave a burning candle unattended.
Do not burn candles for more than 3–4 hours at a time. If you notice excessive smoking, mushrooming of the wick, or a large/flaring flame, extinguish, trim the wick to 1/8–1/4 inch, and reassess.
This DIY candy cane candle captures everything joyful about the holidays – sweet peppermint, warm vanilla, and a cozy, festive glow. It’s simple to make, delightful to smell, and a perfect handmade touch for Christmas gifting or winter décor.
Whether you keep it for yourself or share it with someone special, this candle adds a dash of cheerful aroma to any space, one soothing flicker at a time.
FAQ: How To Make A Candy Cane Candle
Can I use candy cane fragrance oils instead of essential oils?
I do not recommend using fragrance oils. These oils contain synthetic ingredients that can be harmful to your health in the long term. Essential oils, on the other hand, are natural plant extracts and are a better option.
Make sure to use high-quality essential oils from a reputable brand.
How long should I let the candle cure before using it?
Allow at least 24 – 48 hours of curing time so the wax and fragrance fully bind. A longer cure, up to a week, can improve scent throw even more.
Why is my candle surface uneven or cracked?
That happens when the wax cools too quickly. To prevent this from happening, leave your homemade candle to cool at room temperature away from drafts, or gently warm the container before pouring.
Can I make smaller versions of candy cane candles to give as gifts?
Absolutely. Divide your wax and pour into smaller jars or tins, perfect for stocking stuffers or gift sets.
How do I clean jars after the candle has finished?
Place the jar in the freezer for about 30 minutes, then pop out the remaining wax. Wash with warm, soapy water before reusing.
