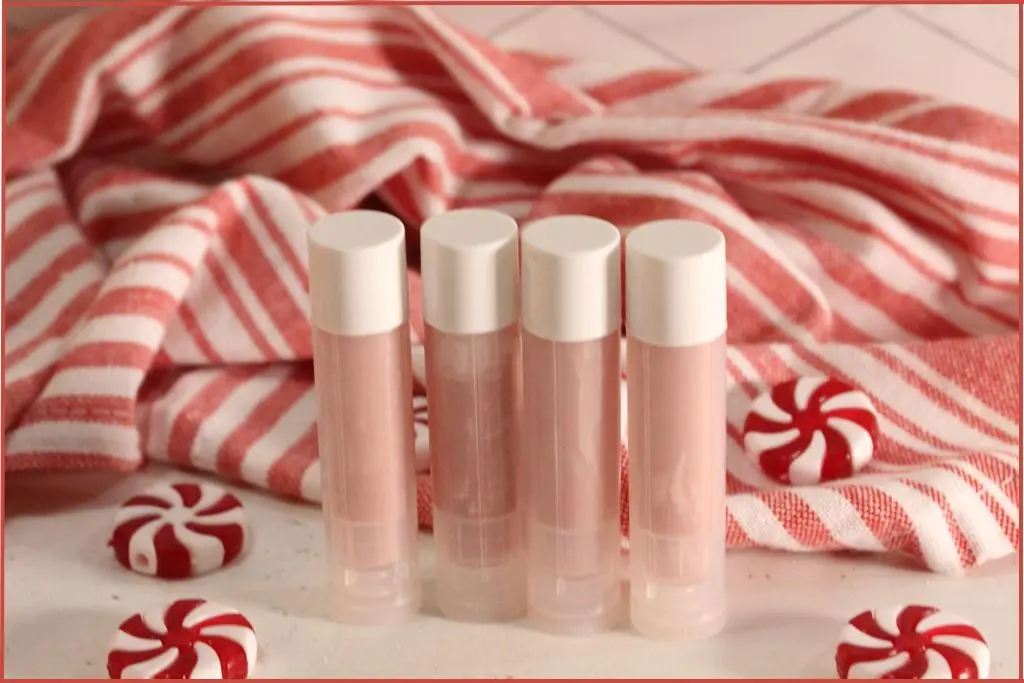
Craving cozy Christmas vibes on your lips? This DIY candy cane lip balm brings a cool peppermint tingle and creamy moisture, making it a festive and refreshing treat.
✨ Get 12 Free Holiday Diffuser Blends — Printable PDF
Instantly make your home smell like Christmas with these festive, ready-to-use recipes.
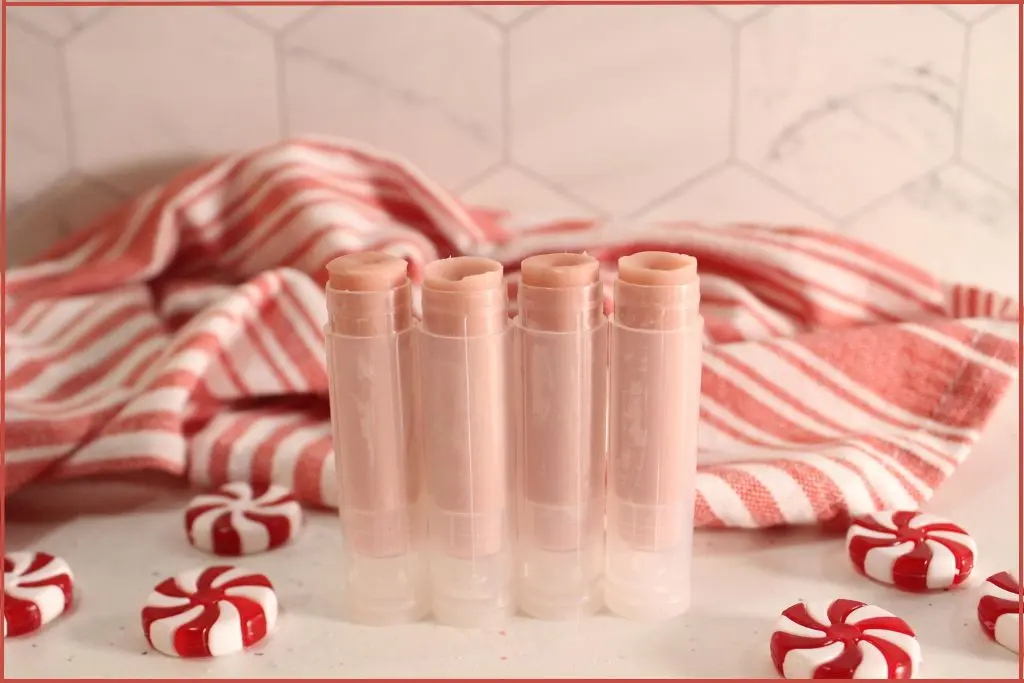
This recipe is quick to make, glides on silky, and keeps lips soft and nourished in winter. The soft pink tint, creamy texture, and refreshing scent feel like Christmas in a tube. One swipe and you’ll feel that peppermint tingle and instant holiday joy!
Whip up a batch of peppermint candy cane lip balms for yourself and for gifting. These compact, scented tubes make great stocking stuffers and additions to gift baskets.
Table of Contents
Affiliate Disclosure: Some links on this site are affiliate links. I may earn a small commission if you purchase through them, at no extra cost to you. See the full affiliate disclosure.
What You’ll Love About This DIY Peppermint-Vanilla Lip Balm
If you love DIY beauty projects that look cute, smell amazing, and actually work, this one’s a keeper! Here’s why you’ll want to make a batch (or two) this holiday season:
- Minty-fresh & festive: That cool peppermint scent instantly feels like Christmas!
- Soft, smooth lips: A nourishing blend of coconut oil, beeswax, and carrier oils keeps your lips hydrated through the winter chill.
- A touch of tint: Add a pinch of red mica for a subtle rosy sheen that looks as sweet as it smells.
- Easy to make & gift: Whip up a batch in minutes — perfect for stocking stuffers, gift baskets, or a cozy DIY afternoon.
- Customizable: Swap in your favorite carrier oils or play with natural colors for a personal twist.
- Customizable to Your Preferences: Want more color? Add extra mica powder. Prefer a different scent? Swap the essential oil. Like it softer or firmer? Adjust the wax ratio. The possibilities are endless.
- Perfect for Gift-Giving: Homemade lip balm makes a thoughtful, practical gift that shows you care. Bundle a few tubes together with festive ribbon for stocking stuffers, teacher gifts, or holiday party favors that people will actually use and appreciate.
Ingredients For Making Candy Cane Lip Balm
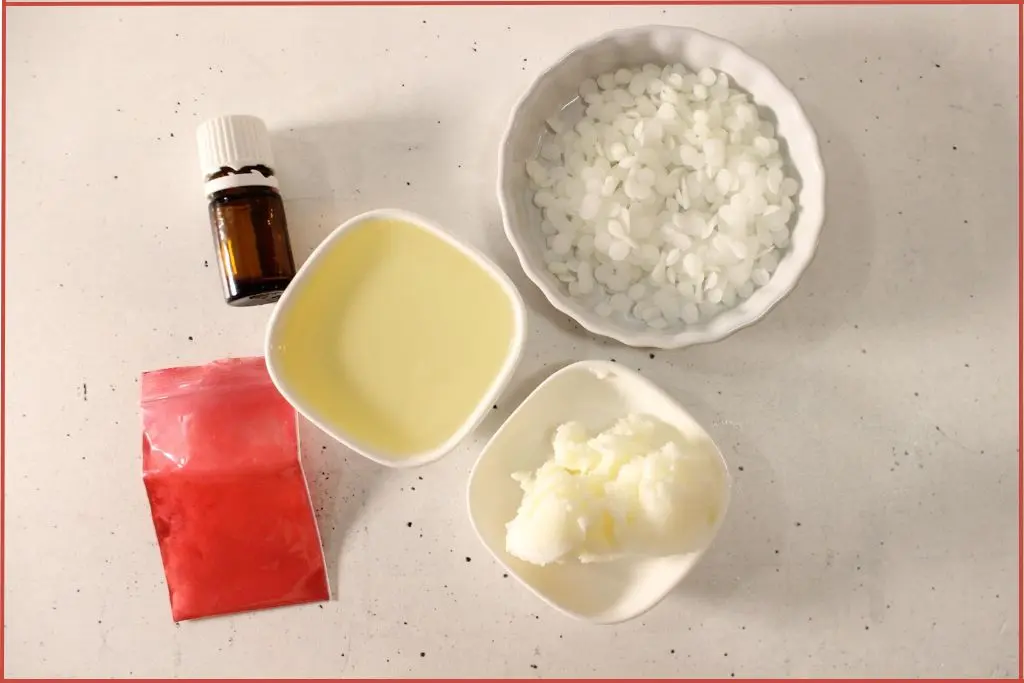
This festive lip balm comes together with just a few simple ingredients that moisturize, protect, and give your lips that festive peppermint glow:
- 2 tablespoons Carrier Oil (Jojoba, Sweet Almond, or Grapeseed Oil) – Carrier oil forms the nourishing base of your lip balm. It softens, smooths, and hydrates your lips without feeling greasy. Jojoba is closest to the skin’s natural oils, while sweet almond adds extra silkiness.
- 2 tablespoons Beeswax Pellets – Beeswax gives your lip balm its solid structure and locks in moisture by forming a light protective barrier. It keeps your lips soft and protected through cold, dry weather.
- 1½ tablespoons Solid Coconut Oil – Solid coconut oil adds creamy glide and extra hydration without being too liquid. It melts beautifully at body temperature, enhancing the balm’s smooth, buttery texture.
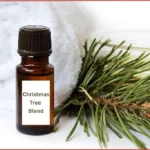
- 5 drops Candy Cane Blend – The star of the show! This essential oil blend scents the lip balm with that classic candy cane aroma and a refreshing, tingly feel. Use pure essential oil – it’s strong, so a few drops are enough.
- A pinch of Red Mica Powder (optional) – For a soft pink tint that looks festive and fun. Mica is a natural, cosmetic-grade mineral that’s completely lip-safe. Skip it for a clear balm or play with different shades for creative variations.
- Lip Balm Tubes or Lip Balm Tins – The blush color of these lip balm tins makes them the perfect container for this blush-toned candy cane lip balm.
Notes & Substitutions:
- You can use any light, skin-friendly carrier oil. Jojoba is the closest to the skin’s natural sebum and is my top pick. Sweet almond adds extra softness and is my second choice for use in homemade lip care.
- Use candelilla wax instead of beeswax for a vegan version. Use a smaller quantity as it has a firmer texture.
- Want a twist on the scent? Try vanilla or sweet orange essential oil for a softer, candy-like aroma.
- The mica adds a delicate tint. Skip it for a clear balm or experiment with different shades for fun variations.
You’ll Also Need
A Double Boiler – Love this model as it comes with a thermometer and spout for easy pouring.
Stirring stick or spoon (glass stirring rod, stainless steel spoon, or wooden popsicle stick)
How To Make Candy Cane Lip Balm Step By Step
Now for the fun part! Follow these detailed instructions to create your own candy cane lip balm. The entire process takes about 15 minutes of active time, plus cooling time.
Step 1: Melt the Base Ingredients
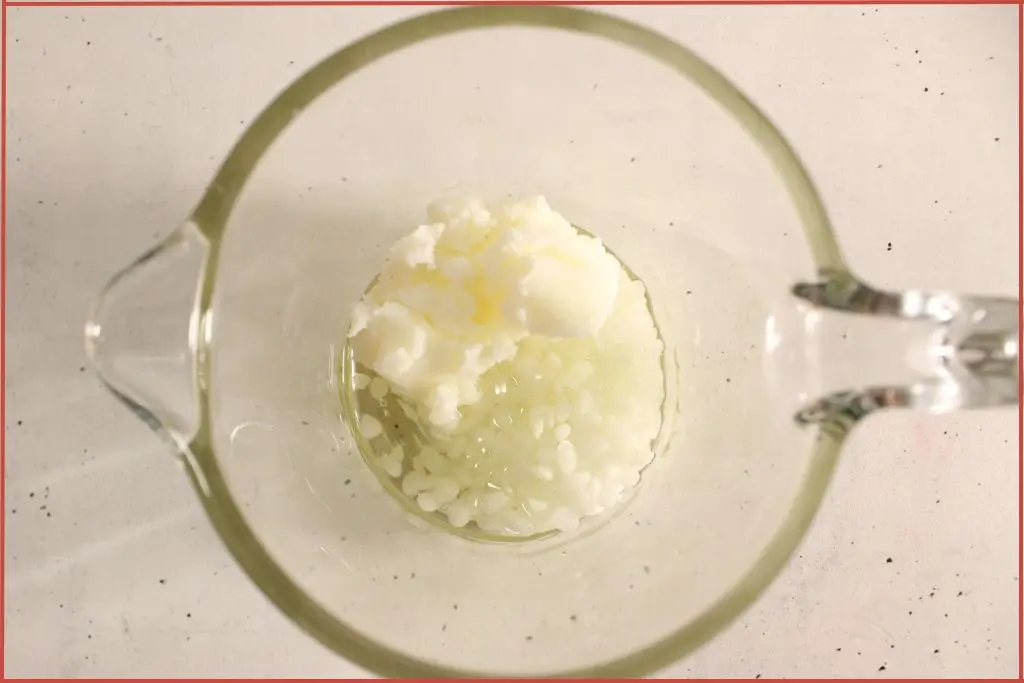
Add your beeswax, carrier oil, and coconut oil to the double boiler and heat gently until completely melted. This usually takes 5-7 minutes. Be patient and keep the heat low.
Pro tip: Keep the heat low and gentle. While beeswax takes the longest to melt, it does not need high heat. More importantly, high heat can degrade the beneficial properties of your ingredients.
You’ll know everything is ready when the mixture is completely melted with no solid pieces remaining. It should look smooth and uniform.
If the beeswax is not melting, the heat may be too low. Turn it up slightly, but keep it at a gentle simmer. Never heat it at a rolling boil.
Step 2: Cool Slightly & Add Essential Oil Drops
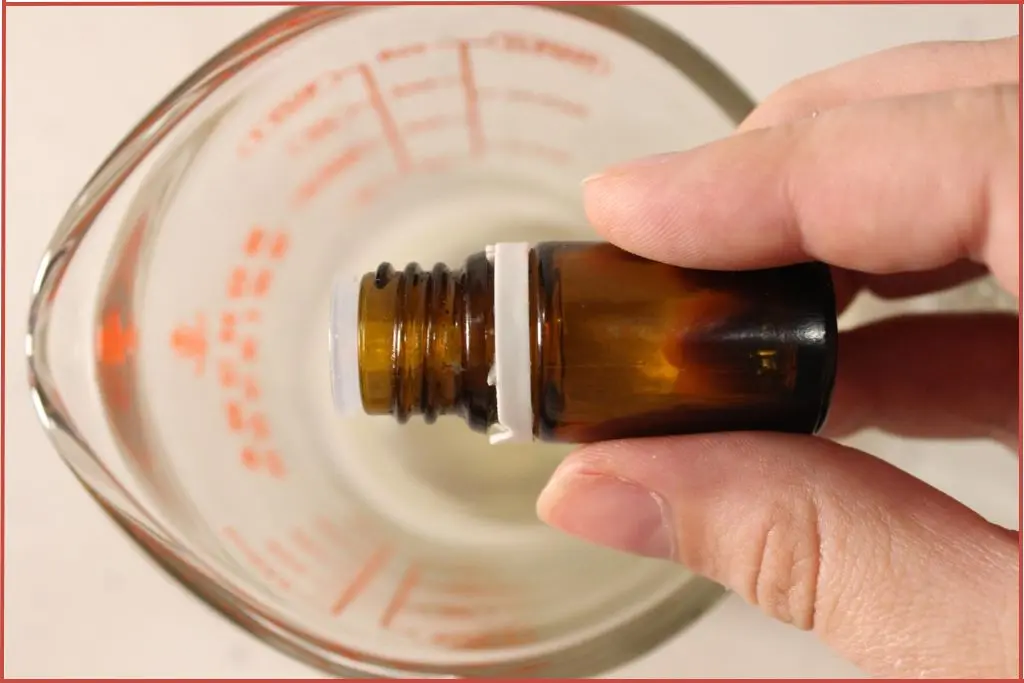
When all ingredients are fully melted and combined into a smooth, clear liquid, remove the bowl from the heat. Let it sit undisturbed for 1-2 minutes to cool slightly.
This cooling step is important.
Essential oils are volatile compounds that evaporate when exposed to high heat. If you add them while the mixture is too hot (above 140°F/60°C), the aroma will evaporate much too quickly. This brief cooling period preserves the scent while the mixture is still liquid enough to pour easily.
Visual cue: The mixture will still be completely liquid but won’t be steaming. If you touch the outside of the bowl, it should feel very warm but not too hot to touch comfortably.
Add 5 drops of candy cane essential oil blend to your mixture and stir gently but thoroughly to distribute it evenly.
Step 4: Add Red Mica Color (optional)
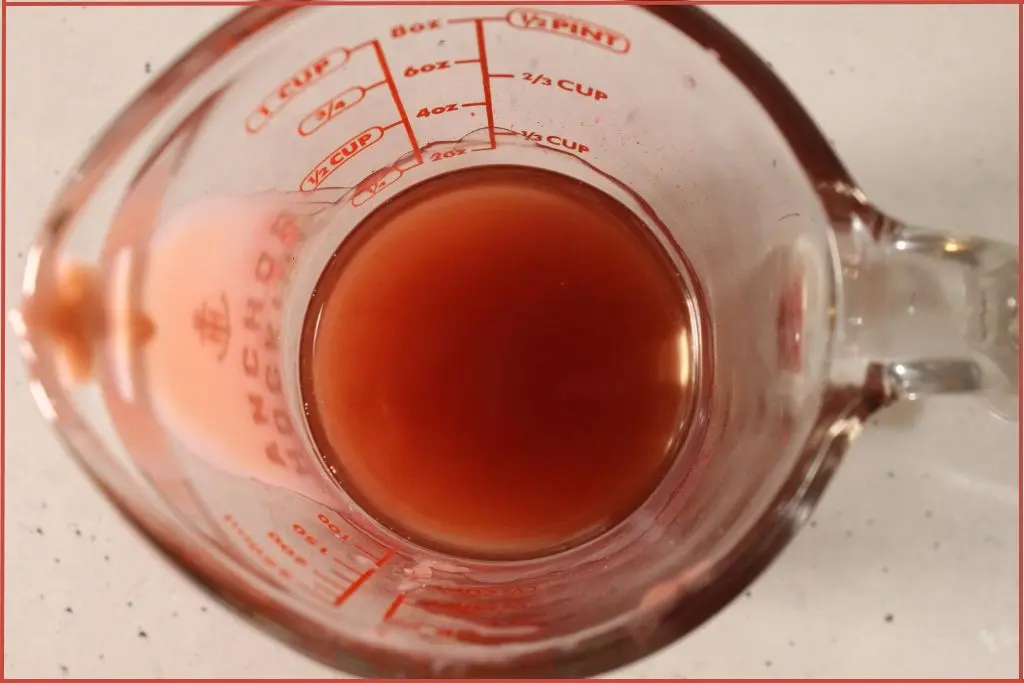
If you’re adding color, now’s the time. Start with just a tiny pinch of red mica powder, literally the amount that fits on the tip of a toothpick or the edge of a small spatula. Stir completely until the color is evenly distributed with no streaks.
A little mica goes a long way! Start with less than you think you need. You can always add more for a deeper tint, but you can’t take it out once it’s mixed in.
For a subtle, natural-looking tint, one small pinch is usually perfect. For a more noticeable coral or pink shade, you can add up to 1/8 teaspoon.
Step 5: Pour into Containers Quickly
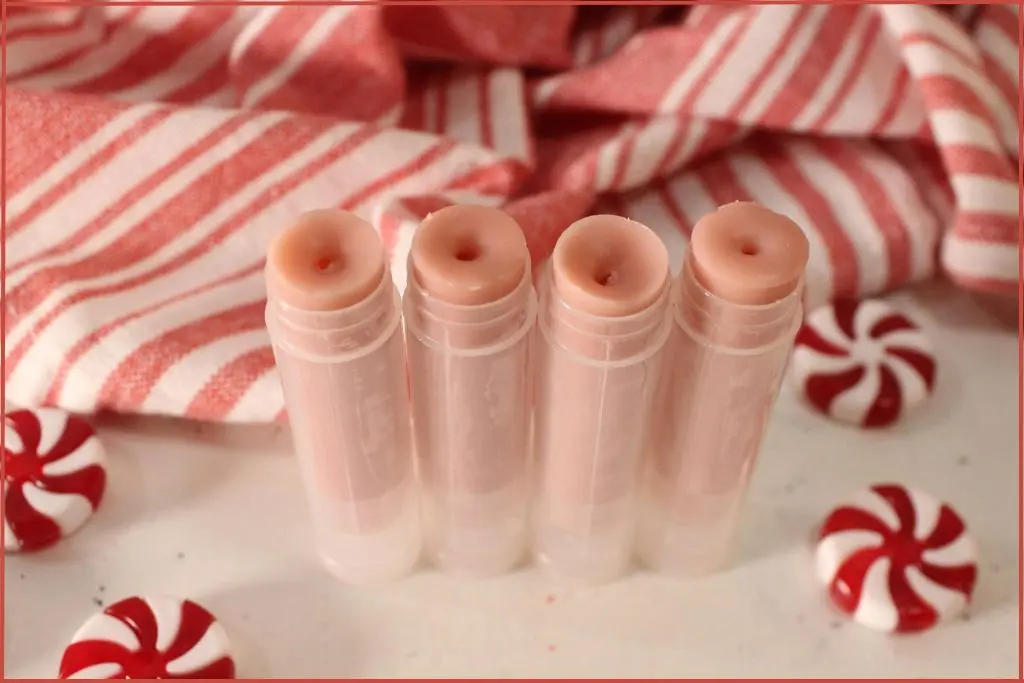
This is where you need to work with purpose. As soon as the essential oil and color are mixed in, the mixture will begin to cool and solidify. Work quickly and pour the liquid into your lip balm tubes using a small funnel if necessary.
For tubes: Hold the tube steady and pour carefully, filling almost to the top but leaving about 1/8 inch of space. Use a silicone tray designed for filling lip balm tubes. It will hold the tubes steady while you stay focused on pouring.
For tins: Pour the mixture into small tins slowly and steadily, filling them to just below the rim.
If your mixture begins to thicken before you’ve filled all your containers, simply place the bowl back over the warm water for 30 seconds to re-melt it. Then continue filling the containers.
Step 6: Let Cool Completely
Place your filled containers in a safe spot where they won’t be disturbed. Let them cool at room temperature for 30-45 minutes until completely solid.
Important: Resist the urge to move them, check them, or touch them during this time. Movement while the balm is still partially liquid can create an uneven or cracked surface. If you’re using tubes, don’t cap them yet.
Your homemade Christmas lip balm is ready when it looks opaque rather than translucent and feels completely firm to a gentle touch.
Step 7: Cap, Label, and Store
Once your lip balm has solidified and hardened, cap your tubes or put lids on your tins. If you’d like to add labels, now’s the perfect time! You can create custom labels on your computer, use a label maker, or simply write on the containers with a permanent marker.
Enjoy Your Sweet, Scented Creation!
Your candy cane lip balm is ready to use! Apply it generously whenever your lips need moisture. The peppermint will create a pleasant cooling sensation, while the nourishing oils and butters work to soften and protect your lips against harsh winter weather.
Storage recommendations: Keep your homemade lip balm in a cool, dry place. A drawer, cabinet, or cosmetics bag works perfectly. Avoid storing it in hot places like cars, windowsills, or near heaters, as the heat can melt or soften the balm.
Shelf life: When made with fresh ingredients and stored properly, this lip balm should last 6-12 months. The jojoba oil has a particularly long shelf life. If you used a different carrier oil with a shorter shelf life (like sweet almond oil), use your balm within 6 months for best quality.
Tips For Making The Perfect Lip Balm Every Time
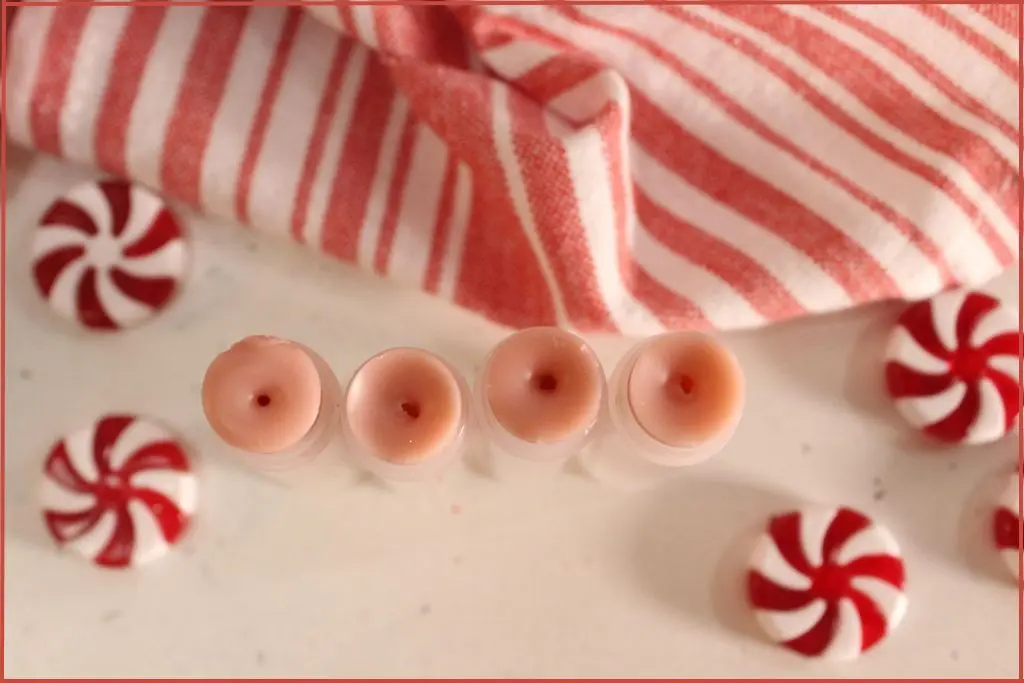
Start here to understand how ingredient ratios and temperature affect texture and performance.
Getting the Texture Right: The ratio of wax to oils is crucial for achieving the perfect consistency. The recipe as written creates a firm balm that stays solid in warm weather and glides on smoothly.
For a firmer balm: Add an extra ½ tablespoon of beeswax. This is ideal if you live in a warm climate, want to carry your lip balm in a pocket, or prefer a very solid texture.
For a softer, glossier balm: Reduce the beeswax by ½ tablespoon (use only 1½ tablespoons total). This creates a softer texture with more glide and shine. Keep in mind that softer balms are more likely to melt in warm conditions.
For lip gloss consistency: Reduce the beeswax to just 1 tablespoon and pour the mixture into small pots or gloss tubes with wands.
Avoid These Common Mistakes When Making Lip Balm
Even simple recipes can go wrong. Here’s how to prevent common pitfalls before they happen.
Mistake #1: Adding essential oils too soon. Always let your mixture cool for 1-2 minutes after removing from heat. Hot oils evaporate the fragrance compounds in essential oils.
Mistake #2: Moving containers before fully set. This creates uneven surfaces, cracks, or sinkholes in your balm. Be patient!
Mistake #3: Using too much mica powder. Start small, you can always make another batch with more color if you want it deeper.
Mistake #4: Overfilling tubes. Leave a small gap at the top. Lip balm expands slightly as it cools, and overfilled tubes can be difficult to cap.
Mistake #5: Using fragrance oils instead of essential oils. Fragrance oils are synthetic and not suitable for lip products. Always use pure essential oils.
Troubleshooting Common Issues When Making Lip Balm
If your balm didn’t turn out quite right, these quick fixes can help you salvage or improve your batch.
The lip balm is too soft/melts easily: Your ratio has too much oil and not enough wax. Re-melt your lip balm (yes, you can do this!) and add ½ tablespoon more beeswax. Stir well and re-pour into containers.
The lip balm is too hard and drags on lips: There’s too much wax. Re-melt and add ½ tablespoon more carrier oil. Mix thoroughly and pour into containers again.
There’s a grainy texture in the balm: This happens when the balm cools too quickly or unevenly. Re-melt the balm gently and let it cool more slowly at room temperature, away from drafts or cold surfaces.
The color is streaky or uneven: The mica powder wasn’t fully incorporated. Re-melt the balm and stir very thoroughly before pouring again. Make sure you’re mixing continuously until completely uniform.
The scent is very weak: Either the mixture was too hot when you added essential oils (causing evaporation), or you simply need more. You can add 2-3 more drops next time. Remember, scent will seem stronger when the balm is warm and liquid than when it’s solid.
There’s a sinkhole or dip in the center: This is purely cosmetic and doesn’t affect performance. It happens when the balm contracts as it cools. To prevent it, let the mixture cool for an extra minute before pouring so it’s slightly thicker, or fill tubes completely to the top.
The balm separated into layers: The ingredients weren’t fully mixed before cooling began. Always stir thoroughly while melting and again after adding essential oils. Re-melt and mix more thoroughly.
Lip Balm Recipe Customization Ideas
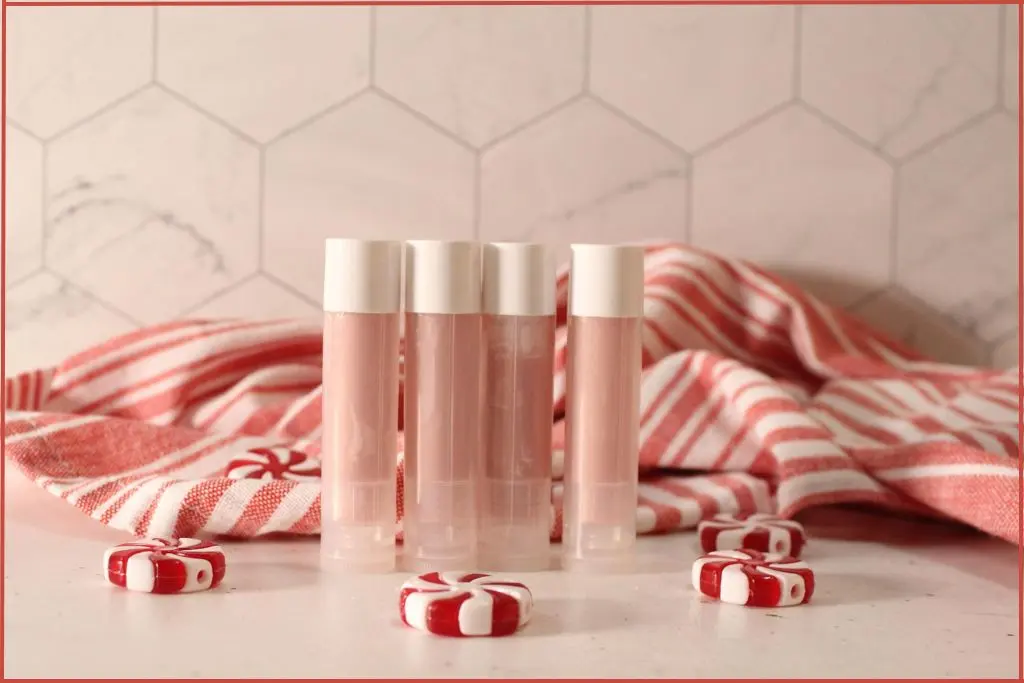
Different essential oil blends to try:
- Vanilla + peppermint for a mint chocolate chip vibe
- Orange + cinnamon for a spicy citrus blend
- Spearmint + lime for mojito lip balm
- Lavender + vanilla for a calming, sweet scent
- Eucalyptus + peppermint for extra cooling relief
Natural tint alternatives:
- Beetroot powder for a natural pink
- Cocoa powder for a brown tint
- Turmeric (tiny amount!) for golden yellow
- Activated charcoal for dark grey/black
- Leave it natural with no colorant
Add-ins for extra benefits:
- 1 teaspoon shea butter for extra moisture
- ½ teaspoon vitamin E oil for antioxidant benefits
- ¼ teaspoon vanilla extract for added scent (add with essential oils)
Packaging Ideas for Gift-Giving
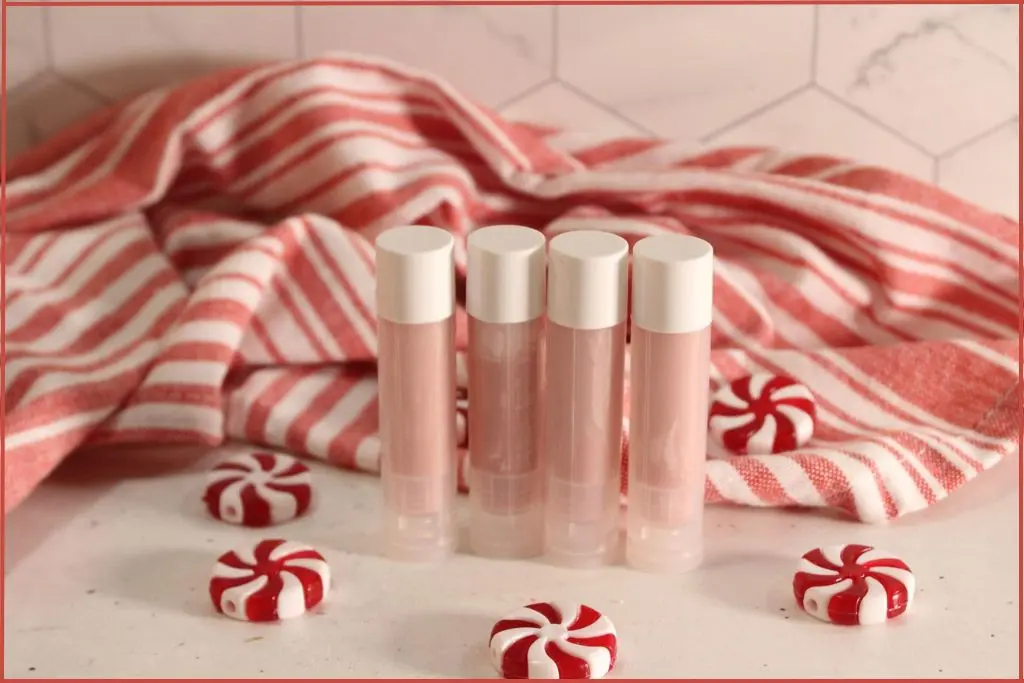
If you’re making these as gifts, presentation matters! Here are some ideas to make your candy cane lip balm look as professional as it performs:
Simple and sweet: Tie 2-3 tubes together with red and white baker’s twine or ribbon. Attach a small gift tag with the name and ingredients.
Holiday themed: Fill a small organza bag with a couple of homemade lip balm tubes, a Christmas roll-on perfume, and a gingerbread whipped body butter. Add some shredded paper filler, and tie with a festive ribbon.
Candy cane themed gift set: Package two or more lip balm tubes with other homemade candy cane scented items like these red-and-white striped bath bombs and sugar scrubs. Add a candy cane soy jar candle, a minty lip scrub, and a bottle of layered bath salts for a sweet self-care gift basket. Include a small candy cane for extra holiday cheer.
Professional finish: Print custom labels with your design using sticker paper. Include the product name, ingredients, and a “made with love” tag.
Eco-friendly option: Use cardboard lip balm tubes instead of plastic for a sustainable gift option.
How to Use Candy Cane Lip Balm
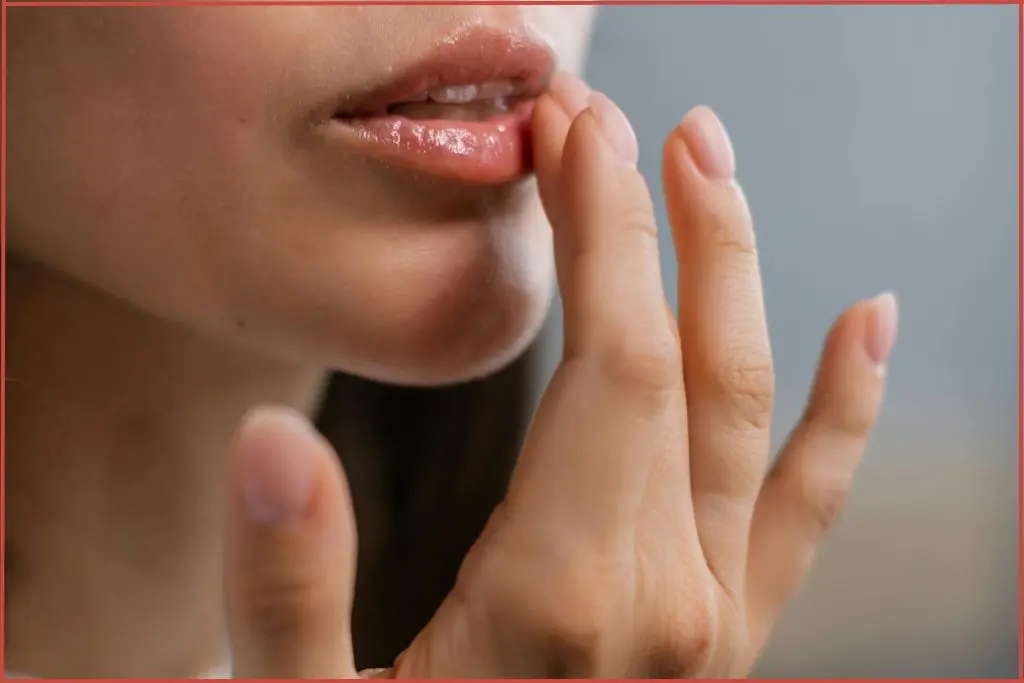
Apply a small amount of homemade scented lip balm to your lips whenever they feel dry or need a touch of shine. The smooth texture glides on easily, locking in moisture while leaving a cool, refreshing peppermint tingle.
At least once a week, exfoliate lips gently with this peppermint lip scrub first. Avoid using the scrub or balm on cracked or irritated lips, and always make sure your hands are clean when applying from a tin. Store your lip balm in a cool, dry place. High temperatures can cause it to soften or melt.
Store in a cool, dry place away from sunlight. The lip balm should last around 6–12 months.
General Safety Tips
Maintain a clean workspace: Ensure all your containers and tools are clean and dry before starting. Contamination can introduce bacteria and reduce shelf life.
Don’t eat it: While all ingredients are technically food-grade and non-toxic, this is a cosmetic product, not food. Keep away from small children who might be tempted to eat it.
Check expiration: Use fresh ingredients and note when you made your lip balm. Mark containers with the date if giving as gifts.
Discontinue if irritation occurs: If you experience any redness, burning, or irritation, stop using the product immediately.
The beauty of this recipe lies in its simplicity and versatility. Once you’ve mastered the basic technique, you can customize it endlessly with different scents, colors, and add-ins to create your perfect lip balm. Whether you stick with the classic peppermint candy cane version or branch out into other flavors, you’ll love knowing exactly what’s going on your lips.
This holiday season, skip the generic store-bought gifts and give the gift of handmade lip balm.
Bundle a few tubes with festive ribbon, add a thoughtful label, and you’ve created a practical, thoughtful gift that shows you care. Your friends and family will appreciate the personal touch, and you’ll love how easy and affordable it is to make multiple gifts from a single batch.
Happy crafting, and enjoy your festive, nourishing candy cane lip balm!
Frequently Asked Questions
Is mica powder safe for lips?
I’ve linked to a cosmetic-grade mica powder, which is completely safe for use in lip products.
Is there any alternative to beeswax?
You can substitute with candelilla wax for a vegan option, though the texture will be slightly softer.
