As an Amazon Associate I earn from qualifying purchases. See Full Disclosure Here
Learning how to grow microgreens without soil is the best way to ensure that you’ll have a continuous supply of these delicious, delicate greens all year round.
Microgreens add a flavorful and nutritious punch to any meal. These tiny, vibrant greens are packed with nutrients and can be easily cultivated right at home, even without the use of traditional soil. Knowing how to grow microgreens is an easy way to grow your own greens even if you don’t have much space at home.
In this comprehensive guide, we will explore the benefits of growing microgreens without soil, the supplies you’ll need, and a step-by-step guide for successful cultivation and harvesting.
Benefits of Growing Microgreens Without Soil
 Growing microgreens hydroponically offers several advantages that make it an appealing option for home gardeners.
Year-Round Growth
One of the key benefits of hydroponic gardening is the ability to grow microgreens year-round, regardless of the weather conditions outside.
You don’t have to worry about the snow freezing your plants, the rain flooding the soil, or the hot sun drying up the shoots. By providing the necessary light and essential nutrients, you can create a controlled environment that allows for continuous growth and harvest come snow, rain, or sun.
Maximizes Available Space
Hydroponic systems are compact and space-efficient, making them ideal if you have limited gardening space.
Whether you have a small apartment or a spacious backyard, hydroponic setups can be tailored to fit your available space, including basements, garages, or even shelves in your kitchen.
Water Efficiency
Contrary to what you may expect, hydroponic gardening actually uses less water compared to traditional soil-based methods. By recirculating and reusing water within the system, hydroponics can reduce water consumption by up to 20%. This makes it a more environmentally friendly choice for water-conscious gardeners.
Easier and Less Messy
Hydroponic gardening is generally easier and less messy than traditional soil-based gardening. With no soil to deal with, there is no need to worry about messy setups or accidentally spilling soil on your floor.
Hydroponic setups are compact, clean, and organized, making them a convenient choice for those who prefer a tidy gardening experience indoors.
A Sustainable, Eco-Friendly Option
Soilless microgreen cultivation requires less water and space, making it an eco-friendly option that contributes to sustainable urban farming.
Supplies Needed to Grow Microgreens Without Soil
Before getting started, it’s important to gather all the necessary supplies for growing microgreens without soil. Here’s a list of essential items to have on hand:
Seeds
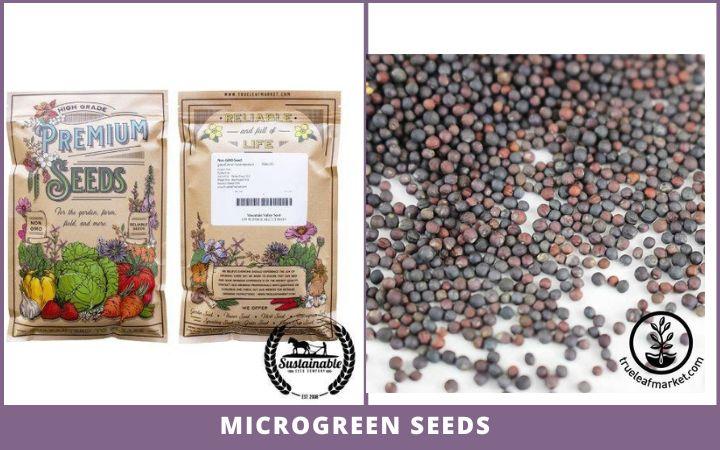 Choose organic microgreen-specific seeds that have not been treated with pesticides.
You can find a variety of microgreen seeds from several online retailers. My top three online sources for buying high-quality, organic microgreen seeds are True Leaf Market, SeedsNow, and Amazon.
Some of the most popular microgreen varieties include Sunflower, Pea Shoots, Radish, Broccoli, and Basil. Consider your taste preferences and how you plan to use them in your dishes.
Growing Medium
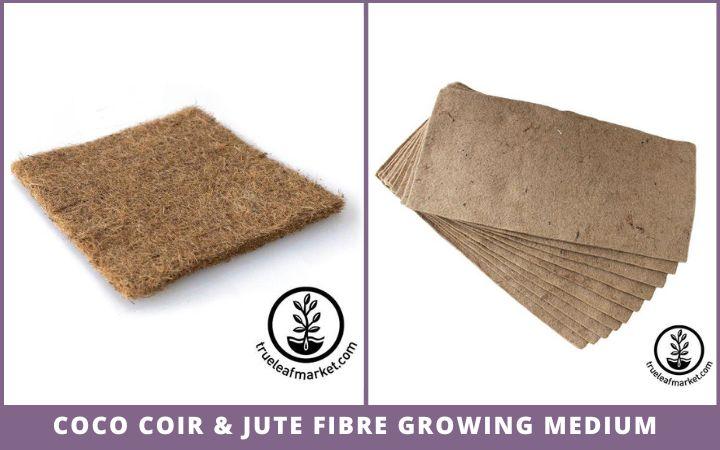 Select a suitable growing medium that will serve as a replacement for soil. A growing medium or grow mat for microgreens provides support for the roots while allowing them to access water and nutrients.
I’ve found that Coconut Coir Gow Mats provide the best support for microgreen growth. Jute Fiber Mats are another excellent option.
Some people use a wad of paper towels as a grow mat for microgreens. I haven’t tried this yet but aim to experiment with paper towels when sowing my next batch.
Growing Trays
 Look for trays that are approximately 1.5 to 2 inches deep and at least 20 inches long with drainage holes. These trays will hold the growing medium and provide a space for the microgreens to flourish.
The drainage holes will prevent water from collecting at the bottom of the growing tray, which may cause the roots to rot.
If you’re using a growing tray that doesn’t have drainage holes, it’s a good idea to place a few clay pebbles at the bottom of the tray before placing the coir or hemp grow mat. The pebbles will raise the height of the grow mat and prevent waterlogging at the bottom.
Growing Lights
While the seeds are germinating, they don’t require light for the first 2-3 days. However, after 4-5 days, they will need adequate light to start the photosynthesis process.
If you get sunlight streaming in through any south-facing window, that’s perfect! Place your microgreens on your sunny window sill and let them soak up the sunshine.
If your plants don’t get adequate direct sunlight, consider using artificial lighting in the form of LED grow lights to compensate.
pH Testing Kit
The pH level of the water used in a hydroponic system is crucial for the growth and health of microgreens. Invest in a pH test kit to ensure the water remains within the appropriate range, typically around 6 for most microgreens.
Nutrients or Fertilizers
Since microgreens receive their nutrients from the water rather than the soil, it is recommended to use hydroponic-specific nutrients or fertilizers. Look for products designed specifically for microgreens to ensure optimal growth.
Spray Bottle
Use a spray bottle to water your microgreens. A spray bottle emits a light mist of water that won’t damage your delicate greens.
You want to make sure the spray bottle is clean to avoid any potential contamination. Buy a new spray bottle, especially for this purpose.
Now that we have gathered all the necessary supplies, it’s time to prepare the growing medium and tray for growing microgreens hydroponically.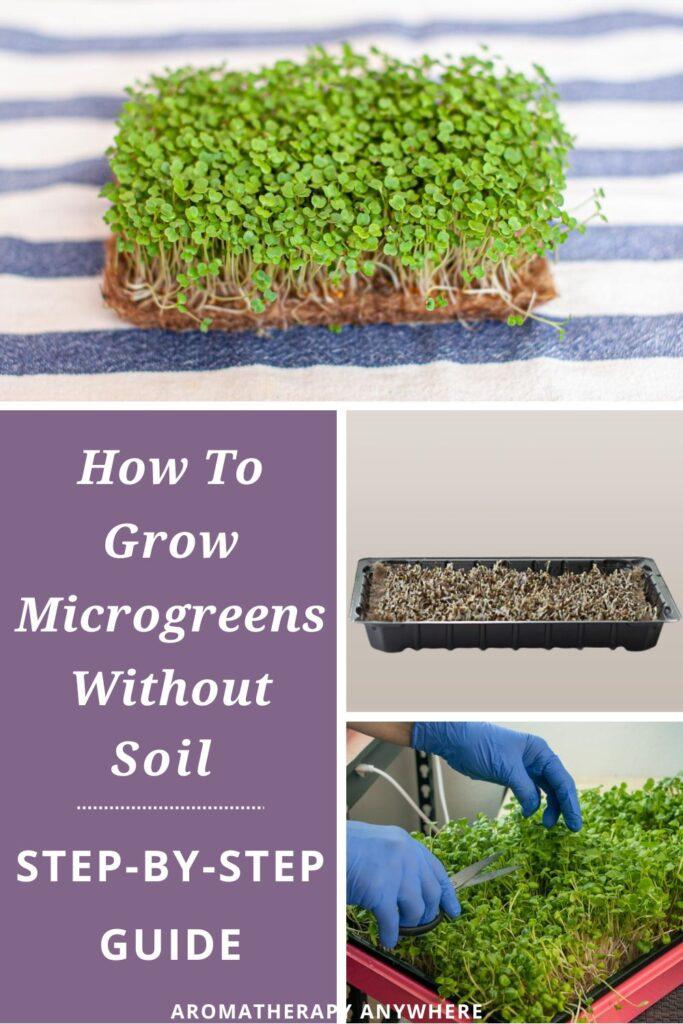
Preparing the Growing Medium
The choice of growing medium is crucial for successful hydroponic microgreen cultivation. Coconut coir and hemp grow mats are two of the best-growing mediums for microgreens.
Here’s a look at how to prepare each of these mediums:
Coconut Coir
Coconut coir is a great option for growing microgreens. It is affordable and widely available and a little goes a long way.
Follow these simple steps to prepare coconut coir as your growing medium:
– Soak a piece of coconut coir in water in a large container. Tap water is good enough.
– Note of caution: Follow the instructions on the coconut coir packaging with regards to ratio of coir to water. Do not more than the recommended amount of coconut coir. Coconut coir is compact and its volume will increase many times over as it absorbs the water.
– Stir and mix the coconut coir thoroughly until it reaches a soil-like consistency.
– Allow the coconut coir to sit in the water for approximately 30 minutes to fully expand and absorb moisture.
– After 30 minutes, drain any excess water from the coconut coir. You want the coco coir to be moist but not sodden.
– Spread the coconut coir evenly throughout the growing tray, ensuring it is approximately one inch deep.
Hemp Growing Mats
Hemp growing mats are a convenient and mess-free alternative to coconut coir. Follow these steps to prepare the hemp growing mats for growing microgreens:
– Take the hemp growing mat out of its packaging.
– Moisten the mat by misting it with water using a spray bottle. Ensure it is evenly moist but not waterlogged.
Preparing the Water
Water quality is vital for the success of hydroponic microgreens. The pH of the water can significantly impact plant growth.
Follow these steps to prepare the water for your hydroponic garden:
– Use pH test strips to measure the pH level of your water source.
– Ideally, the pH range for most microgreens should be around 6. Adjust the pH level of your water as needed, using products such as baking soda or fresh lemons to raise the pH or phosphoric acid to lower it.
– Once the pH level is within the appropriate range, store the water in a clean bottle for future use.
Now that we have prepared the growing medium and water, it’s time to sow the microgreen seeds and begin the growth process.
Sowing the Microgreen Seeds
Properly sowing the microgreen seeds is essential for uniform growth and a bountiful harvest. Follow these steps to sow the seeds in the prepared growing medium:
– Evenly spread approximately 2-3 tablespoons of seeds across the growing medium. Refer to the instructions on the seed packaging for specific guidelines.
– Space the seeds out evenly, avoiding any bare spots or clumps in the tray.
– Lightly mist the seeds and growing medium with water using a spray bottle. This will provide the necessary moisture for germination.
– After sowing the seeds, the next step is to create an ideal environment for germination and subsequent growth.
Germination and Growth
The germination and growth process for hydroponic microgreens requires attention to detail and proper care.
Use this step-by-step guide for successful germination and healthy growth:
– Cover the tray with another tray or place it in a dark area. Complete darkness creates a conducive environment for germination.
– Maintain a temperature of around 30 degrees Celsius (86 degrees Fahrenheit).
– For the next 3-4 days, keep the growing medium moist by misting it with water every 12 hours. Use the adjusted pH water prepared earlier for misting.
– Remember, consistent temperature and humidity levels are crucial to support healthy microgreen growth.
– After 3-4 days, move the tray to a warm and well-lit area. If using artificial lights, position them at an appropriate distance to provide adequate light intensity.
– Water the greens using the dry and soak method. Pour a cup of water into the tray and allow it to soak for 10-20 minutes. Drain any excess water from the tray to prevent root rot.
– Repeat this process daily until it’s time to harvest the microgreens.
Don’t feel like going through the whole process? A Microgreen Growing Kit offers the ultimate convenience and ease of use. Hamama is my go-to vendor for buying microgreen growing supplies.
Harvesting Homegrown Microgreens
Knowing the right time to harvest your microgreens is crucial for obtaining the best flavor and nutritional value.
Here’s how to harvest your hydroponic microgreens:
– Look for the appearance of the first set of true leaves. Once the true leaves emerge, it’s an indication that your greens are ready for harvest.
– Using a sharp knife or a sharp pair of scissors, cut the stalks just above the growing medium, taking care not to cut the roots.
– Harvested microgreens are best used on the same day for maximum freshness and nutritional value. However, if you need to store them, place them between damp paper towels and store them in a cool place. They can last for 4-5 days when stored properly.
How Fast Do Microgreens Grow?
 How long a microgreen takes to grow depends on the variety. On average, most microgreen seeds germinate within about 2 to 3 days. That’s when you should start to see the first set of true leaves.
Your homegrown greens should be ready for harvesting in 8 to 20 days.
The fastest-growing microgreens are Argula, Broccoli, Mustard, Cress, Collard, Radish, Endive, Wheatgrass, and Sunflowers. These varieties will be ready for harvesting anywhere between 8 days to 12 days.
Slower-growing microgreens include Basil, Anise, Celery, Cilantro, Beet, Chard, Carrot, Fennel, and Parsley. These varieties will be ready for harvesting anywhere between 16 to 25 days.
Storing and Using Microgreens
After harvesting, gently wash and dry your microgreens. Store them in an airtight container in the refrigerator, and add them to salads, sandwiches, or garnishes to enhance the flavor and nutrition of your meals.
Learning how to grow microgreens without soil is an easy and rewarding process. Homegrown microgreens are not only fresher and more nutritious than store-bought ones, but they also reduce your carbon footprint and support sustainability.
By following the steps outlined in this guide and utilizing the proper supplies, you can enjoy a continuous supply of fresh, healthy microgreens throughout the year.
Elevate your culinary experience by experimenting with different varieties to discover your favorite flavors and incorporate them into your meals. In addition to adding nutrition and flavors, the variety of colors and textures of homegrown microgreens also add visual appeal to your dishes.
Nothing beats the satisfaction of growing, harvesting, and eating your own flavorful, nutrient-rich microgreens, whether they are grown with or without soil.
FAQs
Can I use any container to grow microgreens hydroponically?
Yes, shallow containers with drainage holes are ideal. You can even use repurposed trays.
How often should I water my microgreens?
Water them when the top of the growing medium feels dry to the touch.
What nutrients do microgreens need?
A balanced, diluted hydroponic nutrient solution will provide the essential nutrients necessary for healthy growth.
Can I grow microgreens without a grow light?
Yes you can grow microgreens without a grow light but only if your plants get sufficient direct sunlight. During winter or if your plants are growing in a place where they don’t get direct sunlight, you’ll see better results when you use a grow light.
Are soil-grown microgreens better than soilless varieties?
Both have their advantages, but the hydroponic method tends to be cleaner and faster. As a bonus, you don’t need to invest in any expensive special equipment.
Can I use tap water or do I need to use filtered or distilled water?
Tap water is good enough for your hydroponic garden.
Can I reuse the growing medium for multiple batches?
It’s best not to. Starting with a fresh medium for each batch minimizes contamination and ensures healthy growth.
 Disclaimer: This information is not intended to serve as medical advice. Please consult your doctor before using any natural medication or if you experience any unusual symptoms. See Full Disclaimer here.